





 Salesforce ERP
 ERP + CRM Platform
  Inventory Management
  Warehouse Management
  Order Management
  Vendor Management
  Logistics Management
  BOM Management
  Order Fulfillment
  Business Operations
  SaaS Platform for Operations
  Salesforce Cloud ERP Platform
  Xero
Xero
 Zoho books
 Quickbooks
 Shopify
 Acumatica
 SAP
SAP
 Odoo
Odoo
 NetSuite
 Microsoft Dynamics 365
 Sage
Sage



 Agentforce Revenue Management
 Agentforce Revenue Management + Billing
  Salesforce CPQ
 Salesforce Advanced Billing
  Migrate from CPQ to ARM
  Managed Services
 Salesforce Implementation
 Revenue Cloud Implementation
 MuleSoft Integration
 Microsoft
 Data Cloud
 Tableau

 Generate Document Using Lightning Experience
Users can generate documents directly from the target object record in Salesforce Lightning Experience.
If the Generate Document button is not appearing on your target object page, follow below mention configuration process:
Steps :
- Navigate to the target object on which the document is created.
- Click the (⚙️ Gear icon) and select Edit Object.
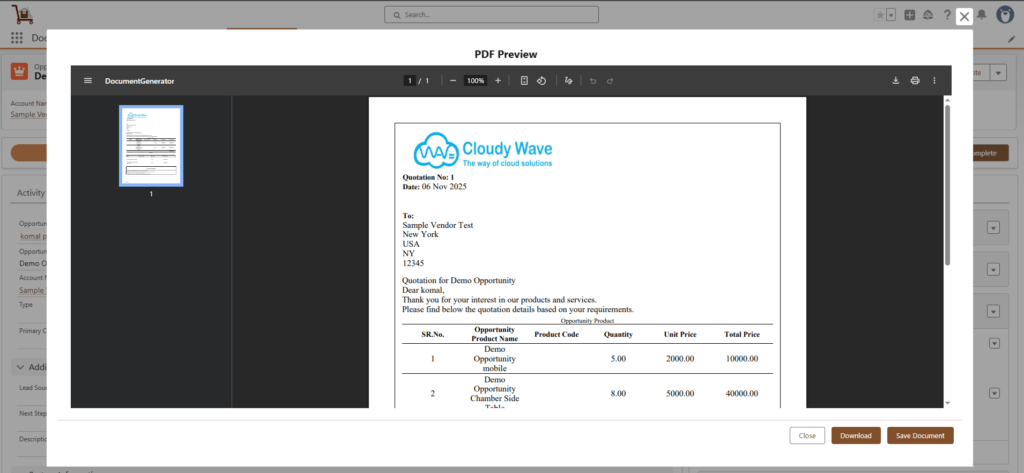
- Go to the Button, Links and actions section.
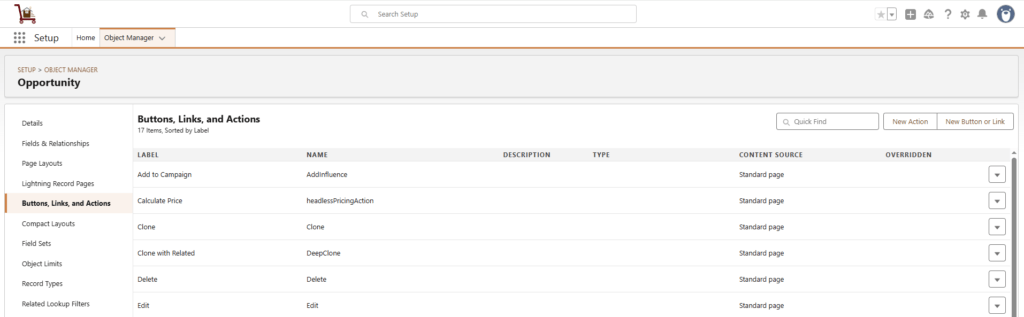
- Click on New Action .
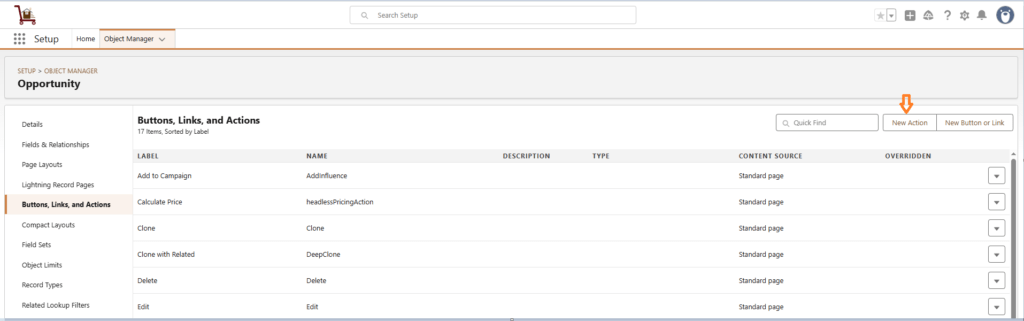
- Select Action Type as Lightning Web Component, choose Lightning Web Component as documentGenerator, and provide an appropriate Label.
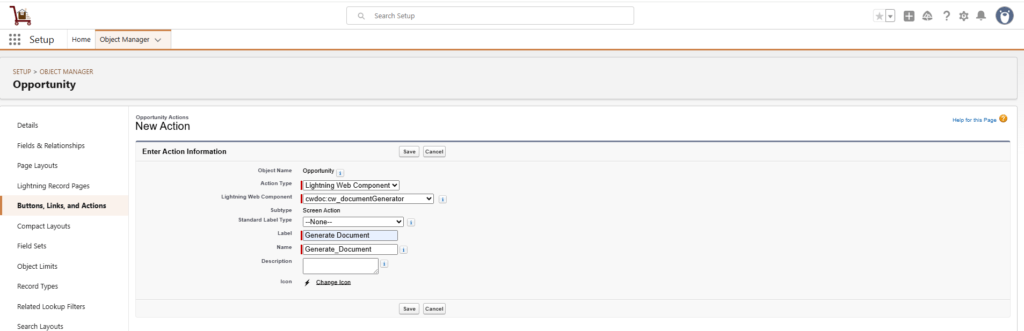
- Click on Save.
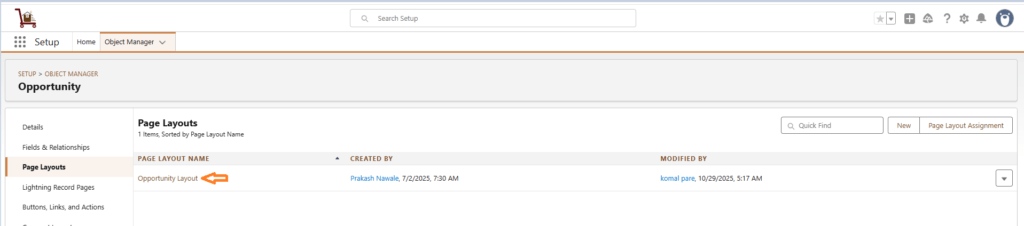
- Go to the Page Layouts section on the same object.
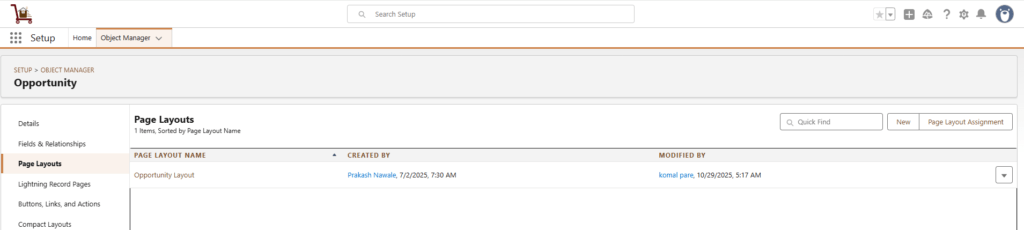
- Select the desired Page Layout.
- In the Layout editor, Go to Mobile & Lightning Actions.
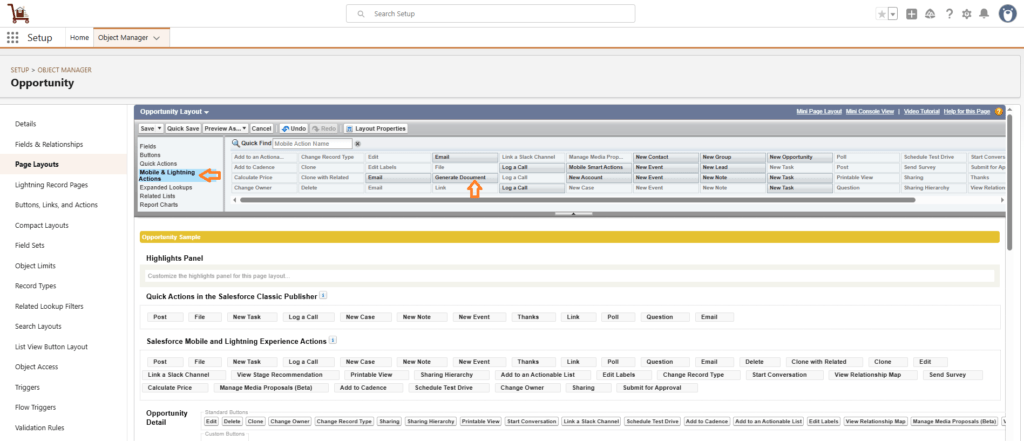
- Drag and drop the Generate Document button onto the layout.
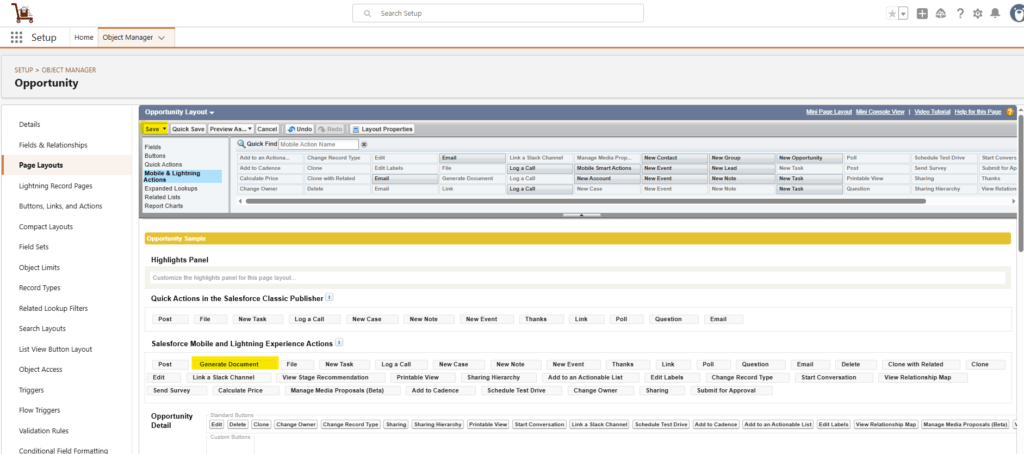
- Click Save.
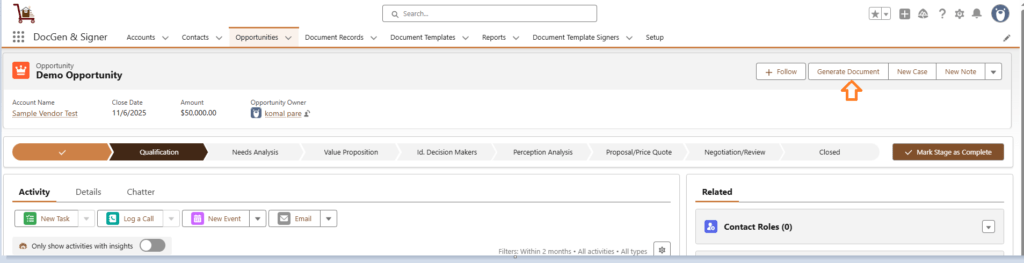
- Return to the object record page and refresh to view the Generate Document button.

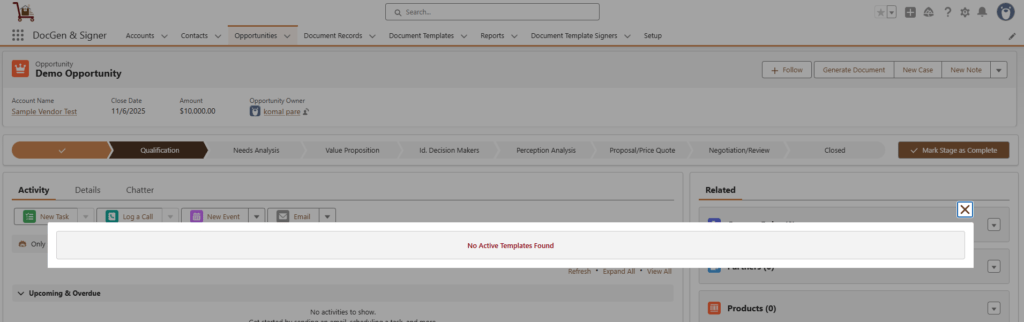
Note: If the document template is not activated the system displays a message.
Created , Completion, Rejection ,Remainder and Expired Emails
- Created Email → This email is sent when a document is created and initiated for the signing process. It notifies the signers that a new document is available for their review and signature, marking the official start of the signing workflow.
- Completion Email → Once all signers have successfully signed the document, every signer will receive a completion email containing a copy of the final sign document.
- Rejection Email:
- If any signer rejects or declines to sign the document, the signing process is immediately terminated.
- All signers who have already signed will be notified that the document has been rejected and is invalid.
- Reminder Email (If configured in the signer section) → The reminder email is automatically sent to signers who have not yet signed the document within the defined timeframe. It serves as a gentle notification, prompting pending signers to complete the signing process before the expiration date, helping ensure timely completion of the document.
- Expired Email → This email is triggered when a document is not signed within the defined expiration period. Once the expiration date is reached, the signing process automatically ends, and an expiration email is sent to all signers. This email notifies them that the document has expired and is no longer valid for signing.
Steps to generate the document with signers
- Navigate to the Target Object
Go to the Target Object selected while creating a document and open the desired object record.

- Generate the Document
Click on Generate Document. If the Generate Document button is not visible, click to add it to the page layout and check its steps. (after click on this check the steps of Generate Document)
- You will see the document template you previously created.
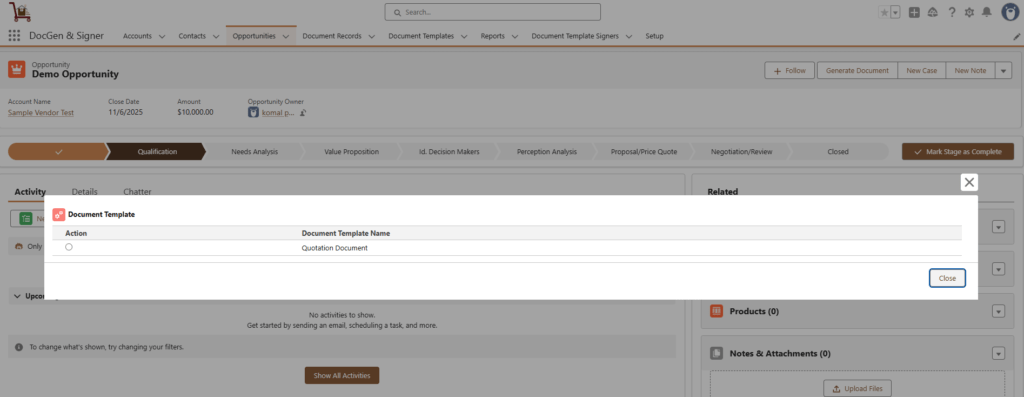
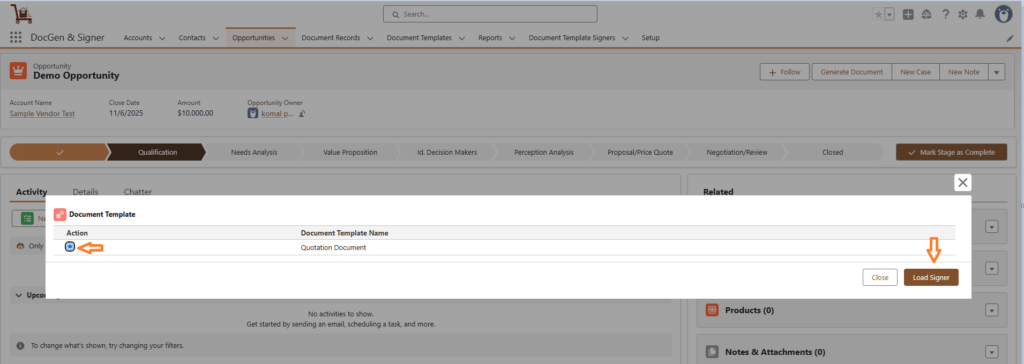
- Load the Signer
Select the document template and click on Load Signer.
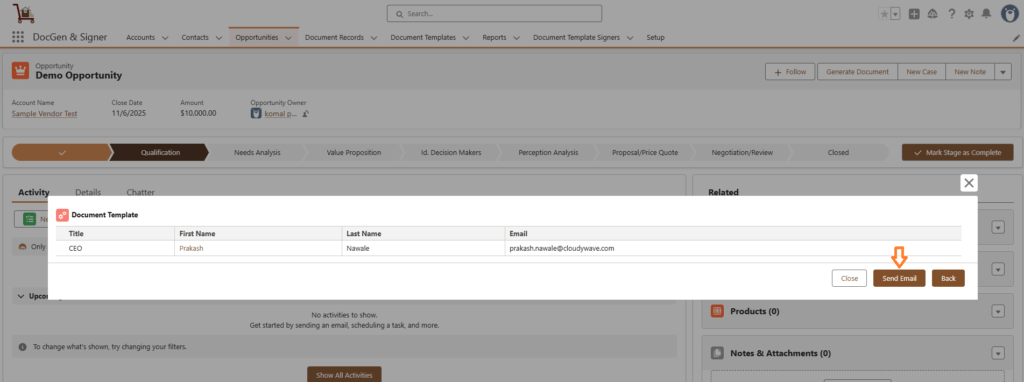
- Send the Document for Signing
Click on Send Email. The signer will receive an email with the subject to sign the document.
- Open the Email and Begin Signing
Open the email and click Review and Securely Sign. If you encounter any errors while accessing the document, click to troubleshoot the issue.
- OTP Verification (If Enabled)
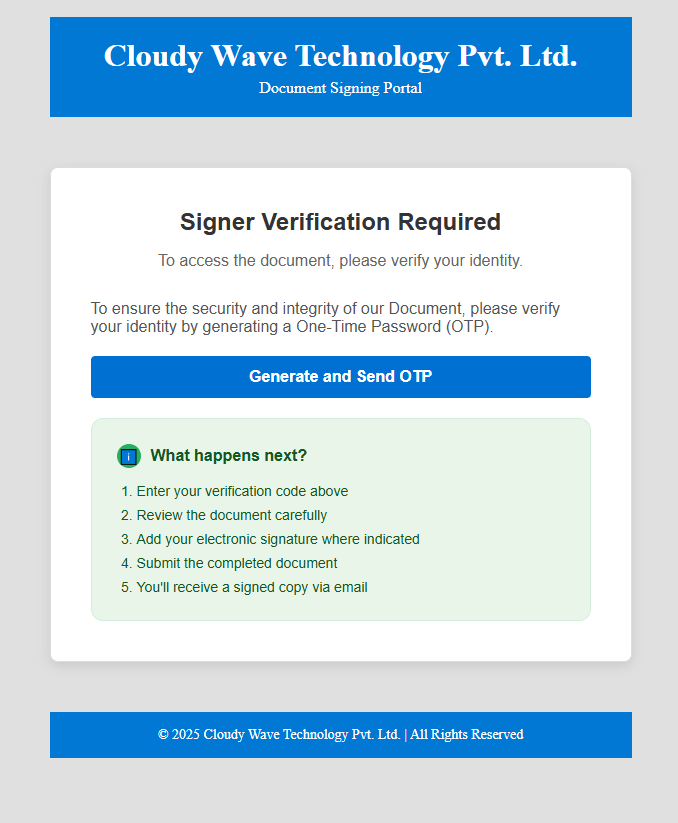
Click on Generate and Send OTP.You will receive a verification code via email. Enter the code and click Verify and Proceed. If you encounter any errors while generating the verification code, click to troubleshoot the issue.
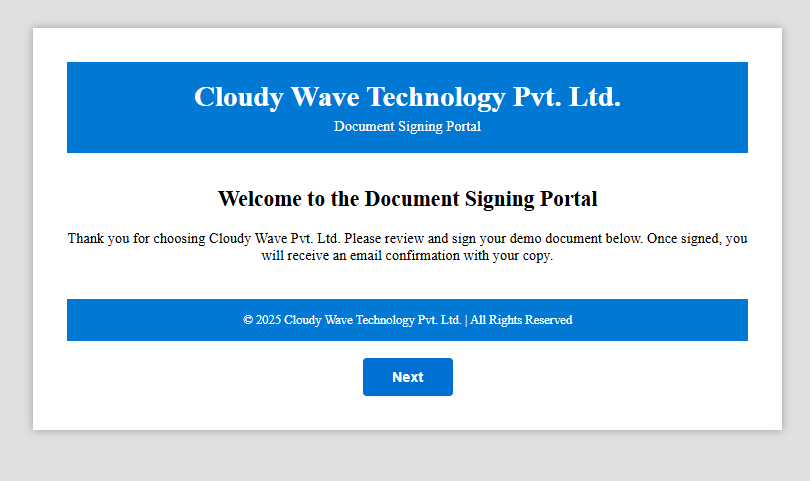
- Welcome Page (If Enabled)
If the Welcome Page is enabled, it will appear after verification. Click Next to continue.
- View Document
The document template will be displayed.
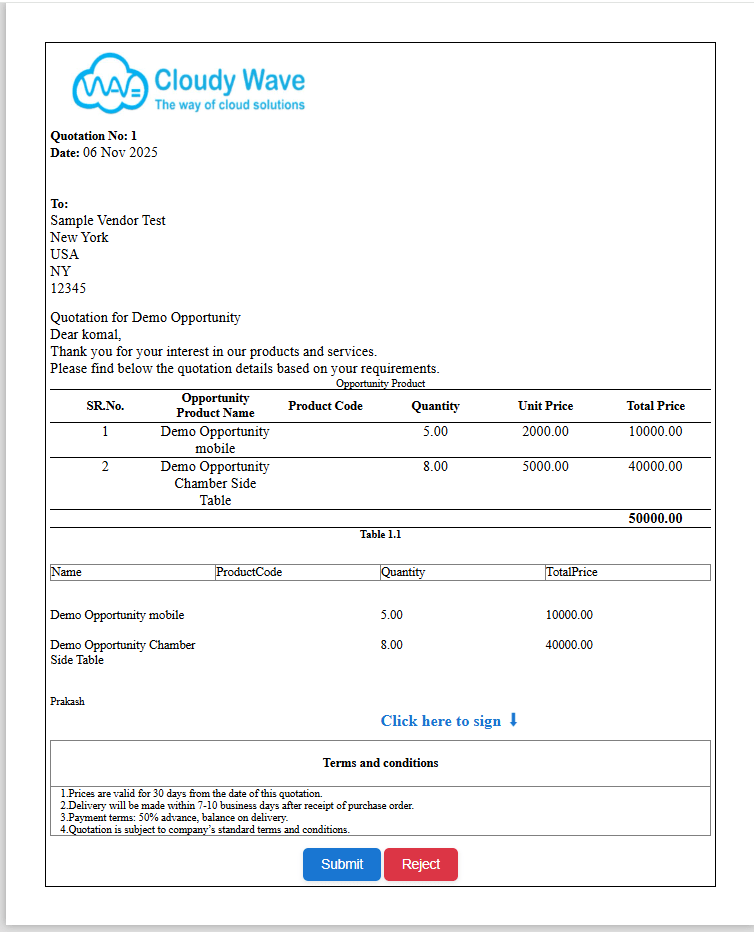
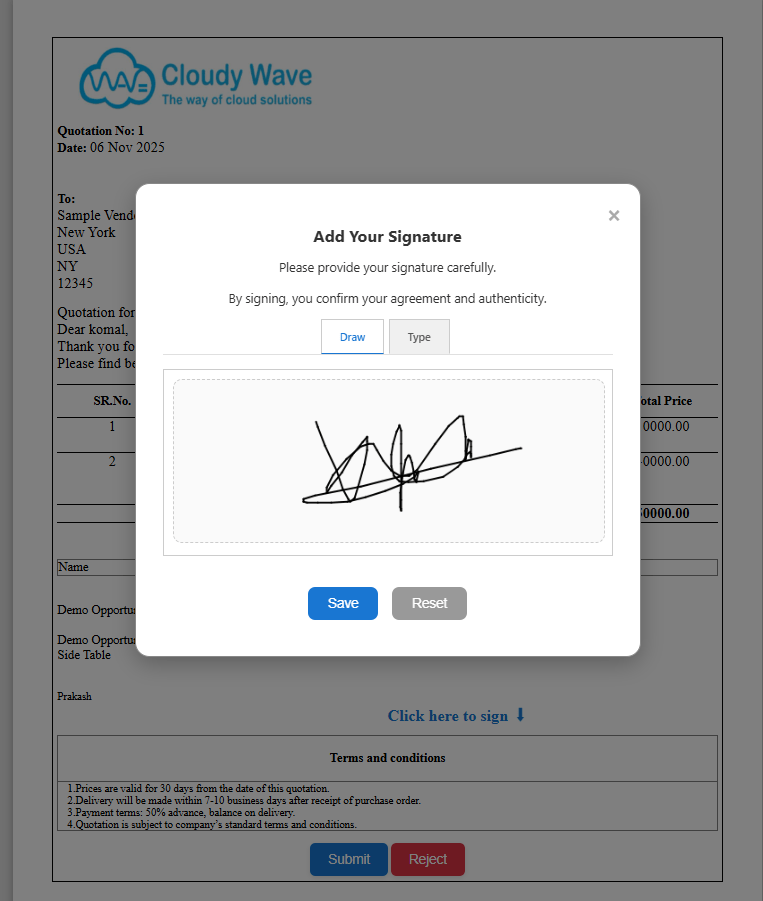
- Click on Click here to sign the document.Sign the document by drawing or typing .Then click Save to temporarily save your signature.
- Submit the Signed Document
Click on Submit to finalize the signing process.If navigation is enabled, you will be redirected to the provided success URL. If not, a success or failure message will be displayed. - Reject the document
A user can reject the document if they are not satisfied with its conditions or content. While rejecting, the user is required to provide a rejection reason, which helps indicate the necessary modifications or clarifications needed before the document can be resent for signing.
✅ Example: If redirect is enabled and a success URL is provided (e.g., https://www.google.com/), the user will be redirected there after submitting.
- Multi-Signer Process
If there is another signer in the list, an email will be sent to the next signer. The same signing steps will be followed for each signer.
- Completion
Once all signers have completed the process, a completion email will be sent along with the signed document attached.
Note: Once the document is signed, if the user navigates to the same link again, the system displays the message configured ,in the Signature Completion Message instead of the signed document.
Steps to generate the document without signers
1.Navigate to the Target Object
Go to the Target Object selected while creating a document and open the desired object record.

2.Generate the Document
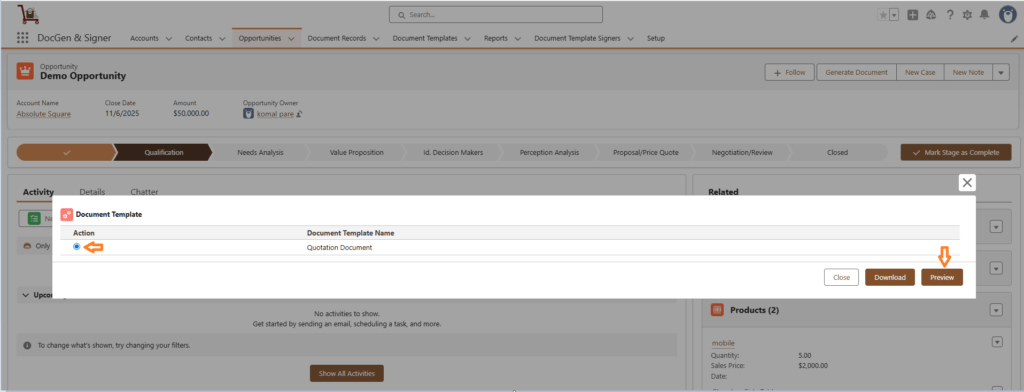
Click on Generate Document.
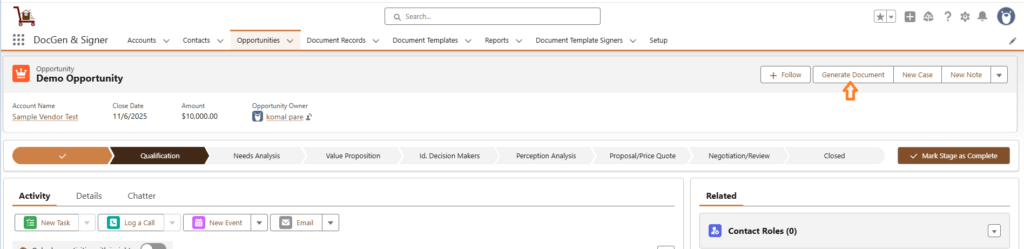
3. You will see the document template you previously created.
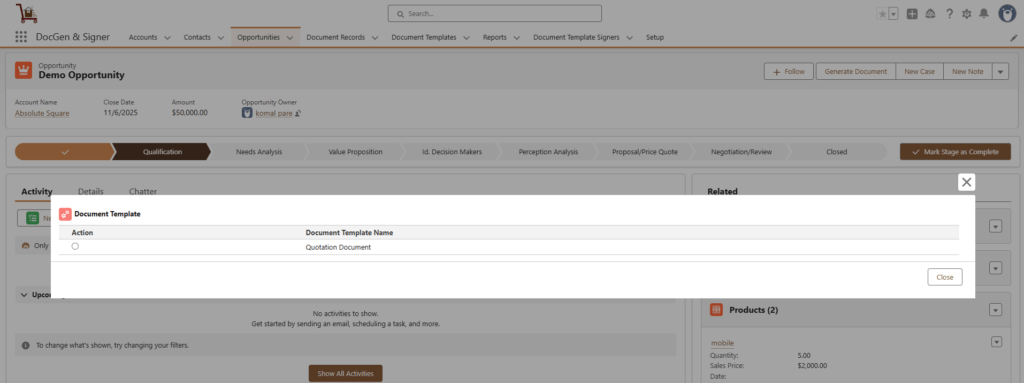
4.Preview the document
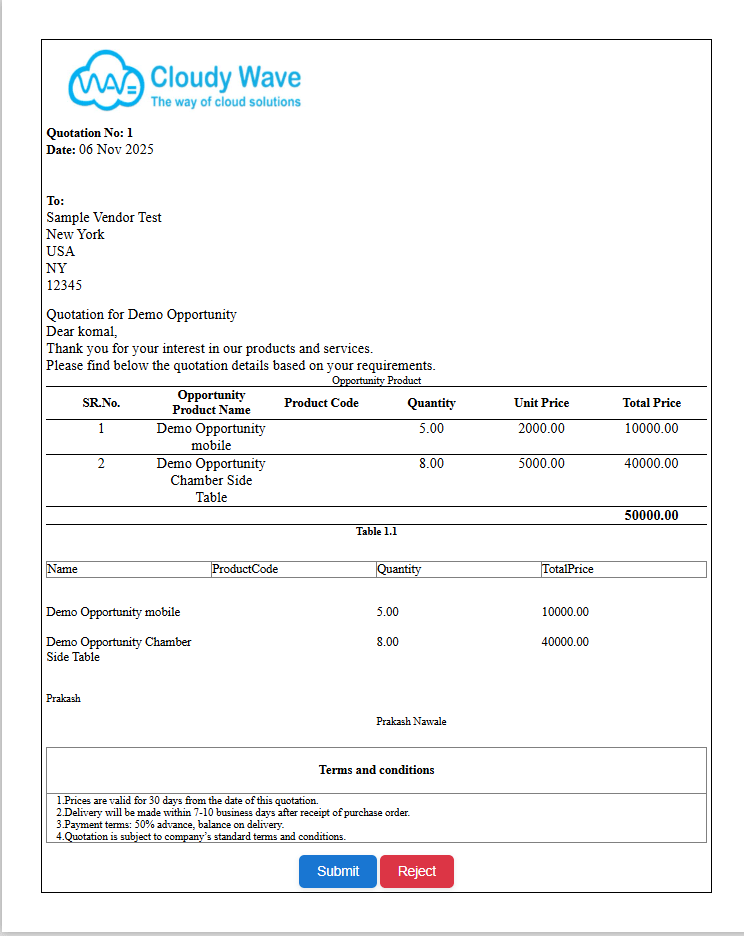
To preview the document select the document and click on Preview.
Document look likes
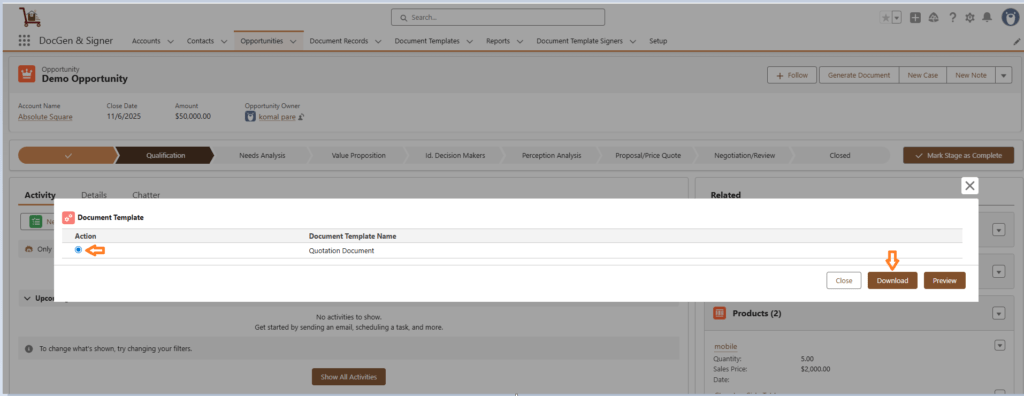
5.Download the document
To download the document select the document and click on Download.
 SEE ALSO :
____👉 Generate Document Using Classic View