




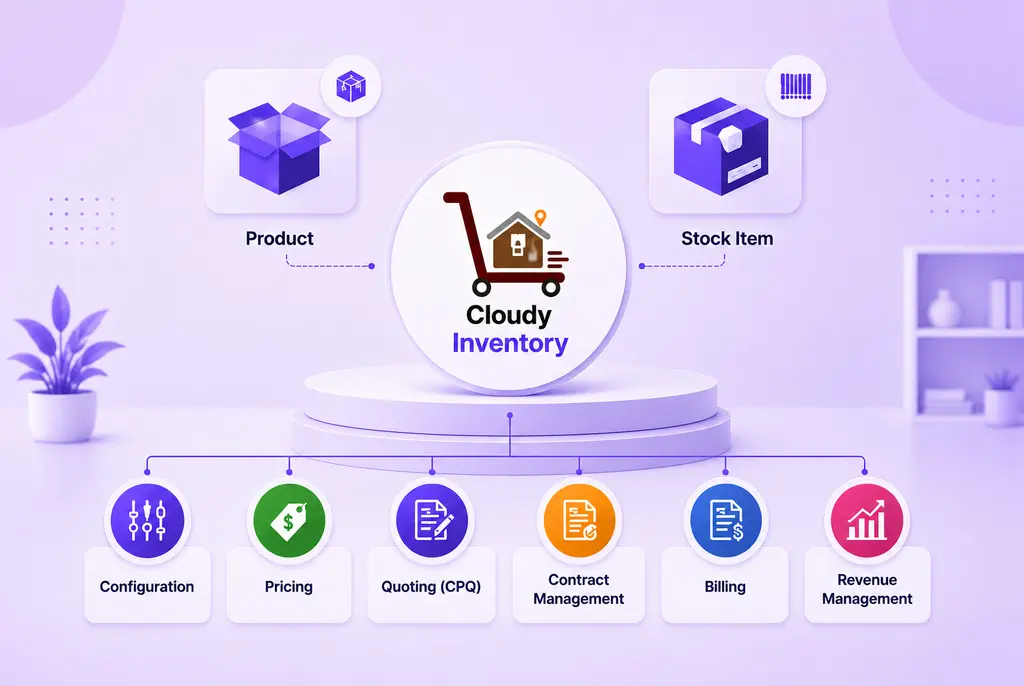


 Salesforce ERP
 ERP + CRM Platform
  Inventory Management
  Warehouse Management
  Order Management
  Vendor Management
  Logistics Management
  BOM Management
  Order Fulfillment
  Business Operations
  SaaS Platform for Operations
  Salesforce Cloud ERP Platform
  Xero
Xero
 Zoho books
 Quickbooks
 Shopify
 Acumatica
 SAP
SAP
 Odoo
Odoo
 NetSuite
 Microsoft Dynamics 365
 Sage
Sage



 Agentforce Revenue Management
 Agentforce Revenue Management + Billing
  Salesforce CPQ
 Salesforce Advanced Billing
  Migrate from CPQ to Agentforce Revenue Management
  Microsoft
 Data Cloud
 Tableau

 Invoice Creation Steps
Step 1: Navigate to Order
Open the required Sales Order record.
Step 2: Create Invoice
Click the Create Invoice button available on the Order page.
Step 3: Review and Update Invoice Information
Review the pre-populated Invoice, Address Information, and Invoice Lines sections. Update or provide the required details as needed:
- Account (Automatically populated from the Sales Order)
- Contact
- Payment Terms
- Invoice Date
- Billing Address (Automatically populated from the Sales Order)
- Shipping Address (Automatically populated from the Sales Order)
- Quantity
- Unit Price
- Tax (%) (if applicable)
- Discount (if applicable)
Verify that the Sub Total and Net Total are calculated correctly before saving.
Step 4: Save the Invoice
Click Save to create the Invoice.
Best Practices
- Verify customer Account and Contact details before creating the Invoice.
- Select the correct Legal Entity for accurate financial reporting.
- Configure appropriate Payment Terms based on customer agreements.
- Enable Split Payments only when multiple payment schedules are required.
- Review invoice totals, discounts, and tax calculations before issuing the Invoice.
- Use the appropriate Payment Gateway to generate secure payment links.
- Keep invoice statuses updated to reflect the current payment lifecycle.
- Use External Invoice ID when synchronizing with external accounting or ERP systems.