


 Salesforce ERP
 ERP + CRM Platform
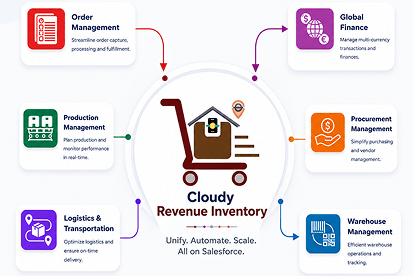
  Inventory Management
  Warehouse Management
  Order Management
  Vendor Management
  Logistics Management
  BOM Management
  Order Fulfillment
  Business Operations
  SaaS Platform for Operations
  Salesforce Cloud ERP Platform
  Xero
Xero
 Zoho books
 Quickbooks
 Shopify
 Acumatica
 SAP
SAP
 Odoo
Odoo
 NetSuite
 Microsoft Dynamics 365
 Sage
Sage
 Agentforce Revenue Management
 Agentforce Revenue Management + Billing
  Salesforce CPQ
 Salesforce Advanced Billing
  Migrate from CPQ to ARM
  Managed Services
 Salesforce Implementation
 Revenue Cloud Implementation
 MuleSoft Integration
 Microsoft
 Data Cloud
 Tableau
Agentforce
 ·
June 3, 2026
·
8 min read
·
June 3, 2026
·
8 min read
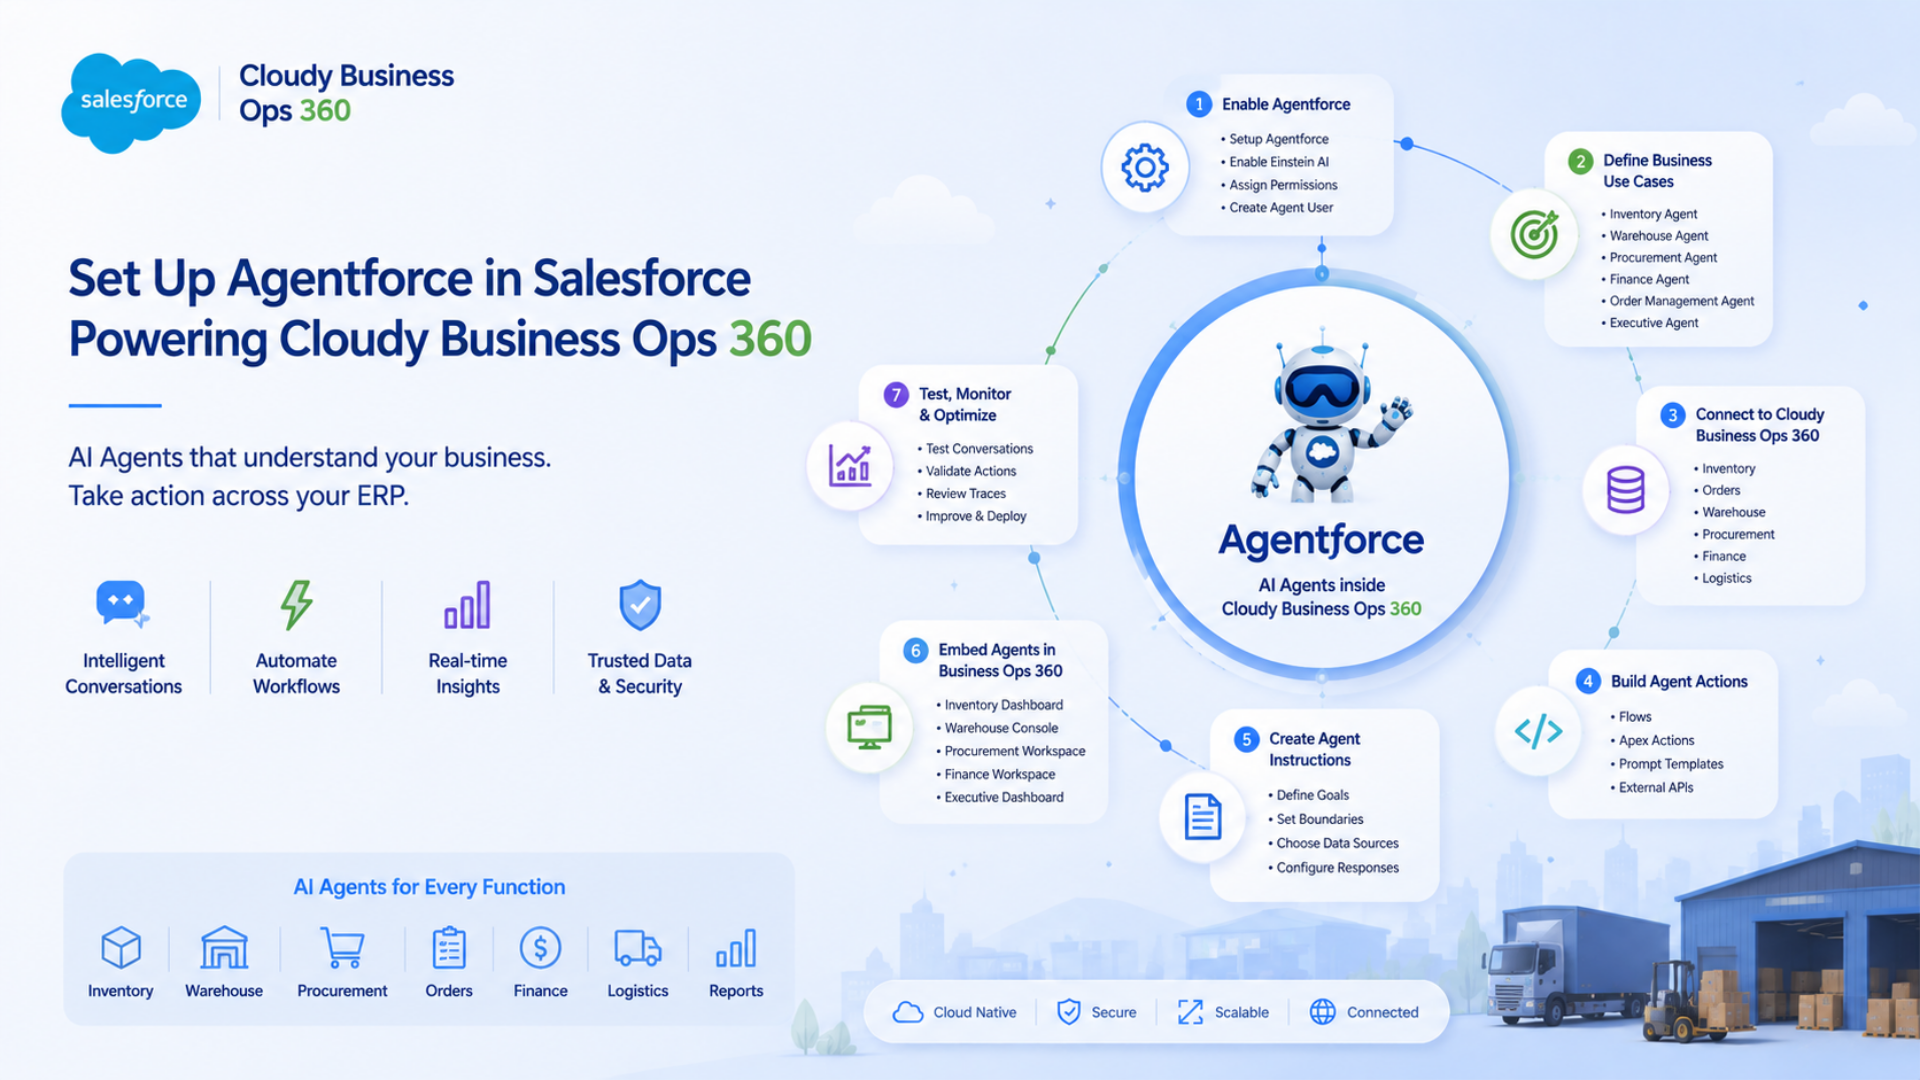
How to Setup Agentforce in Salesforce: A Complete 2026 Guide
·
June 3, 2026
·
8 min read
See Agentforce Work Inside Your Operations
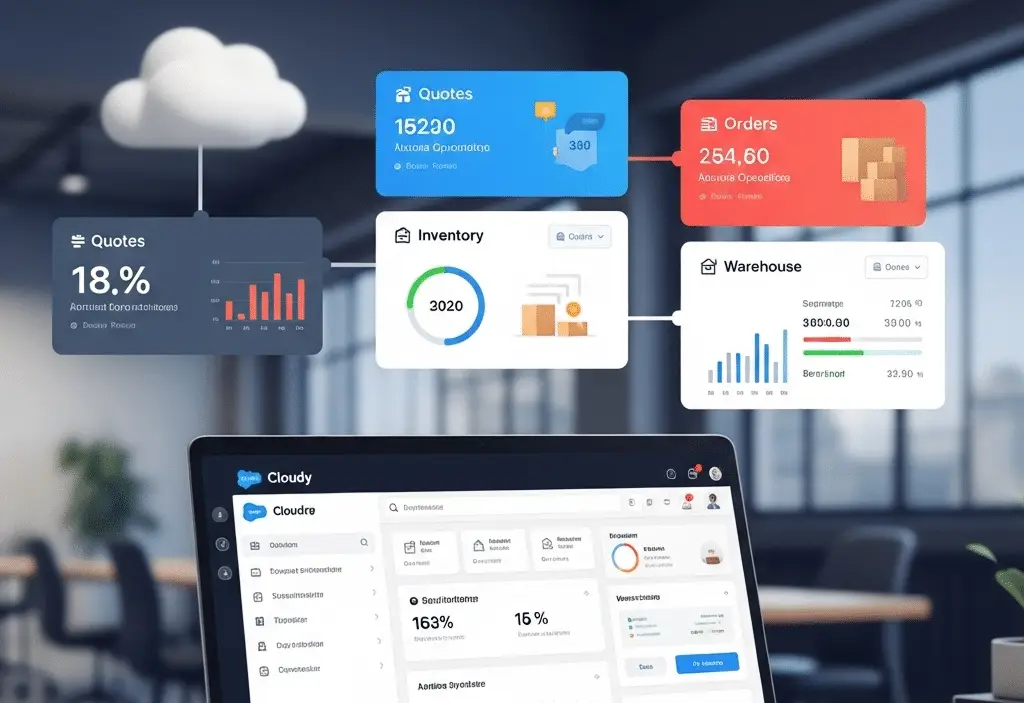
Watch a live walkthrough of AI agents handling quotes, orders, and invoices on one Salesforce-native platform.
Set Up Your First AI Agent in Minutes
tart free with Cloudy Business Ops 360 and connect Agentforce to your real order-to-cash data—no rebuild required.
Frequently Asked Questions
Agentforce requires Salesforce Enterprise Edition, Unlimited Edition, or Performance Edition. Developer Edition can be used for testing and learning purposes. To use Agentforce in production, organizations must also enable Einstein Generative AI and assign the appropriate Agentforce licenses to users who will build or interact with AI agents.
Data Cloud is not strictly required for basic Agentforce pilots, but it is highly recommended for production deployments. Data Cloud provides unified customer data, vector search, and retrieval-augmented generation (RAG), which help Agentforce deliver more accurate, context-aware responses across customer and business workflows.
Key treA basic Agentforce implementation can be completed in a few hours for testing and proof-of-concept purposes. Most production deployments take between two and five weeks per agent, depending on data preparation, integrations, security requirements, business processes, and testing. Enterprise-wide Agentforce rollouts may require several months.nds include cloud-native adoption, DevOps expansion, cybersecurity focus, low-code/no-code platforms, and outcome-based partnerships.
Einstein AI and Agentforce serve different purposes within Salesforce. Einstein AI focuses on predictions, recommendations, content generation, and insights, while Agentforce enables autonomous AI agents that can reason, make decisions, and perform multi-step actions. Organizations often use Einstein AI and Agentforce together to automate complex business processes.
Agentforce uses a consumption-based pricing model rather than a fixed per-user fee. Salesforce has publicly listed pricing starting at approximately $2 per conversation for standard Agentforce usage, typically purchased through Flex Credits. Actual costs vary based on conversation volume, data usage, and the specific Salesforce products included in the deployment.
Salesforce Knowledge is not required to use Agentforce, but it is one of the most common content sources for AI agents. Knowledge Articles help Agentforce provide accurate, trusted answers by giving agents access to approved company information, support documentation, policies, and frequently asked questions.
Yes, Agentforce can perform actions in Salesforce when properly configured. AI agents can create and update records, manage cases, trigger flows, schedule follow-ups, retrieve customer information, and execute approved business processes. Access and actions are controlled through Salesforce permissions and security settings.
Yes, Agentforce is built on Salesforce's enterprise-grade security framework. It follows existing Salesforce permissions, sharing rules, user roles, and governance controls. Organizations can define which data agents can access, which actions they can perform, and how AI-generated interactions are monitored and audited.
Yes, Agentforce can integrate with external applications and data sources. Organizations commonly connect Agentforce to ERP systems, billing platforms, inventory management software, customer support tools, and third-party databases using APIs, MuleSoft, Salesforce Flow, and custom integrations.
Agentforce can support multiple business functions, including customer service, sales, marketing, commerce, human resources, IT, and operations. Many organizations begin with a customer support use case and then expand Agentforce to automate processes and assist employees across additional departments.
To implement Agentforce, organizations typically need Salesforce Enterprise Edition or higher, Einstein Generative AI enabled, appropriate Agentforce licensing, defined business use cases, trusted data sources, and user permissions. Production deployments often include Salesforce Knowledge, Data Cloud, integrations, and governance policies to maximize agent effectiveness and accuracy.
Agentforce helps organizations automate repetitive tasks, improve customer experiences, reduce response times, increase employee productivity, and scale support operations. By combining AI reasoning, enterprise data, and workflow automation, Agentforce enables teams to handle more requests while maintaining consistency and accuracy.
Not Sure Where to Start with Agentforce?
Our Salesforce-certified team maps your setup, licensing, and Data Cloud prerequisites before you commit a dollar.