


 Signer
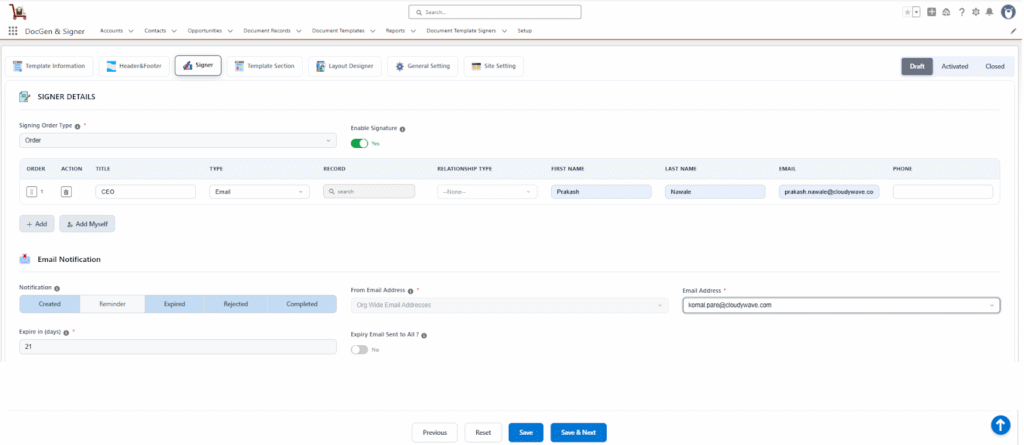
The Signer Details section allows users to configure the individuals or entities who will sign the document.
Once the Enable Signature option is activated, the system automatically displays default email templates containing predefined subjects and body content. These templates can be customized as needed.

Important: Ensure that each signer has a valid email address to receive the document invitation and notifications.
Signing Order Type
Choose how signers will receive and complete the signing process.
Ordered (Sequential)
- Signers receive the document one after another, in the defined order.
- The next signer receives the document only after the previous signer has completed their signature.
Non-Ordered (Parallel)
- All signers receive the document at the same time.
- They can sign in any sequence, independently of one another.
General Options
| Fields | Description |
| Enable Signature | Toggle to enable or disable signature requirements for this document. When disabled, signers cannot be added, and signature settings will not apply. |
| Order | Drag and drop signers to define their signing sequence (applies to Ordered type). |
| Action | Delete a signer from the list. |
| Title | Specify the title or designation of the signer (e.g., CEO, Director). |
| Type | Choose how the signer is identified — Email, Lead, Contact, User, or Target Object. |
| Record | Search and link the record corresponding to the selected signer type. |
| Relationship Type | Defines the signer’s relationship to the target object (e.g., Target Object itself or its Parent Object). |
| First Name /Last Name | Enter or map the signer’s name details. |
| Email / Phone | Provide contact details for notifications and verification. |
Adding Signers
You can add signers in two ways:
- Add (Custom Signer)
- Add Myself
- Add
Add signers by selecting from the available options:
| Signer Type | Description |
| Enter First Name, Last Name, Email, and Phone. (First Name, Last Name, and Email are mandatory.) | |
| Lead | Select a Lead record; details auto-populate. |
| Contact | Select a Contact record; details auto-populate. |
| User | Select a Salesforce User record; details auto-populate. |
| Target Object | Select fields from the target object or its parent object to define the signer dynamically. |
2. Add Myself
- Adds the currently logged-in user as a signer automatically only need to give the title.
Email Configuration
| Fields | Description |
| From Email Address | Choose the sender address from verified Org-Wide Email Addresses in Salesforce Setup. |
| Email Address | Defines the sender’s email used for sending signer notifications. If no address is available, click to set up an organization-wide email address. (After click on this link check the Organization-wide Email Addresses) |
| Expiry Email Sent to All? | When the signing order type is Ordered, enabling this option sends the expiration email to all signers once the document expires. |
Email Notification Templates
Configure automated email notifications for signers at different stages of the signing process.
Notifications can be triggered for the following events:
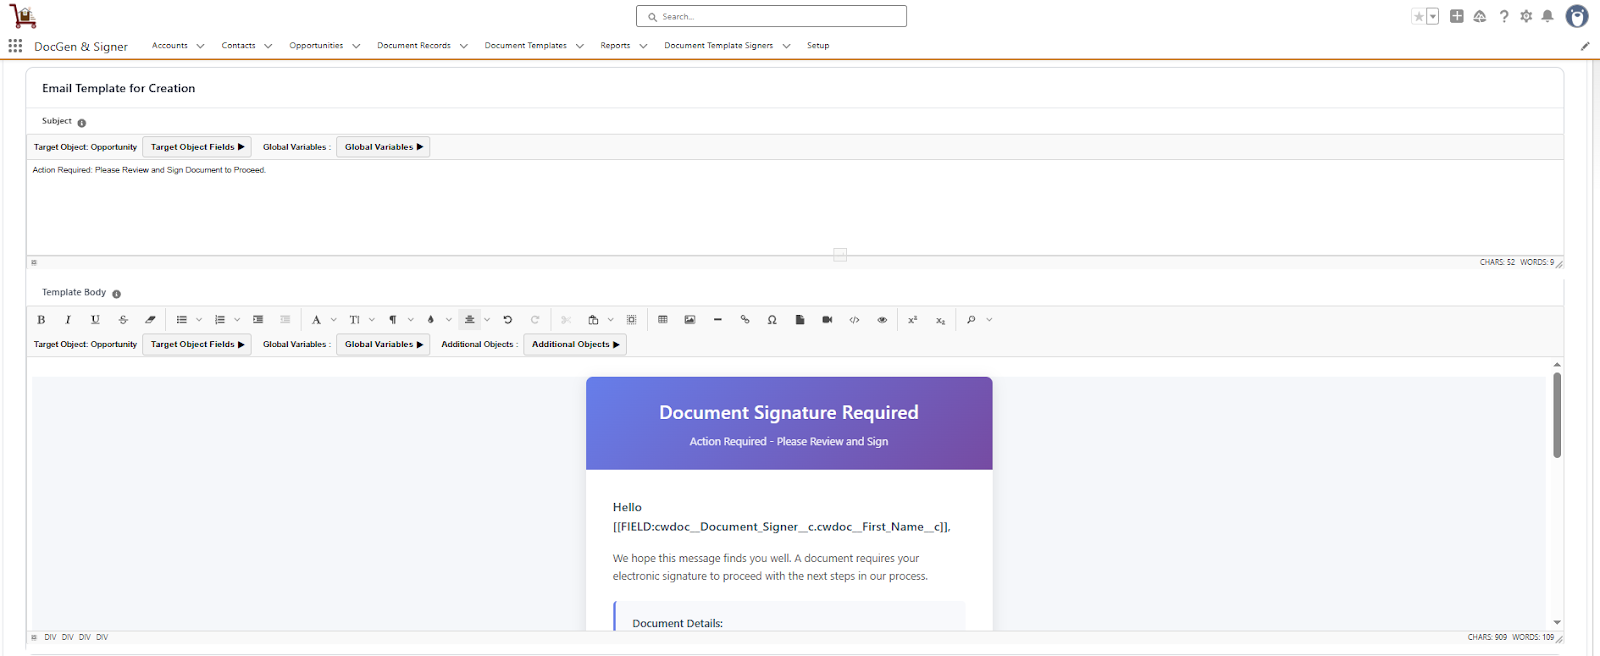
- Email Template for Creation: This template is used when sending a new document to signers for the first time. It serves as the initial notification that a document requires their review and signature.
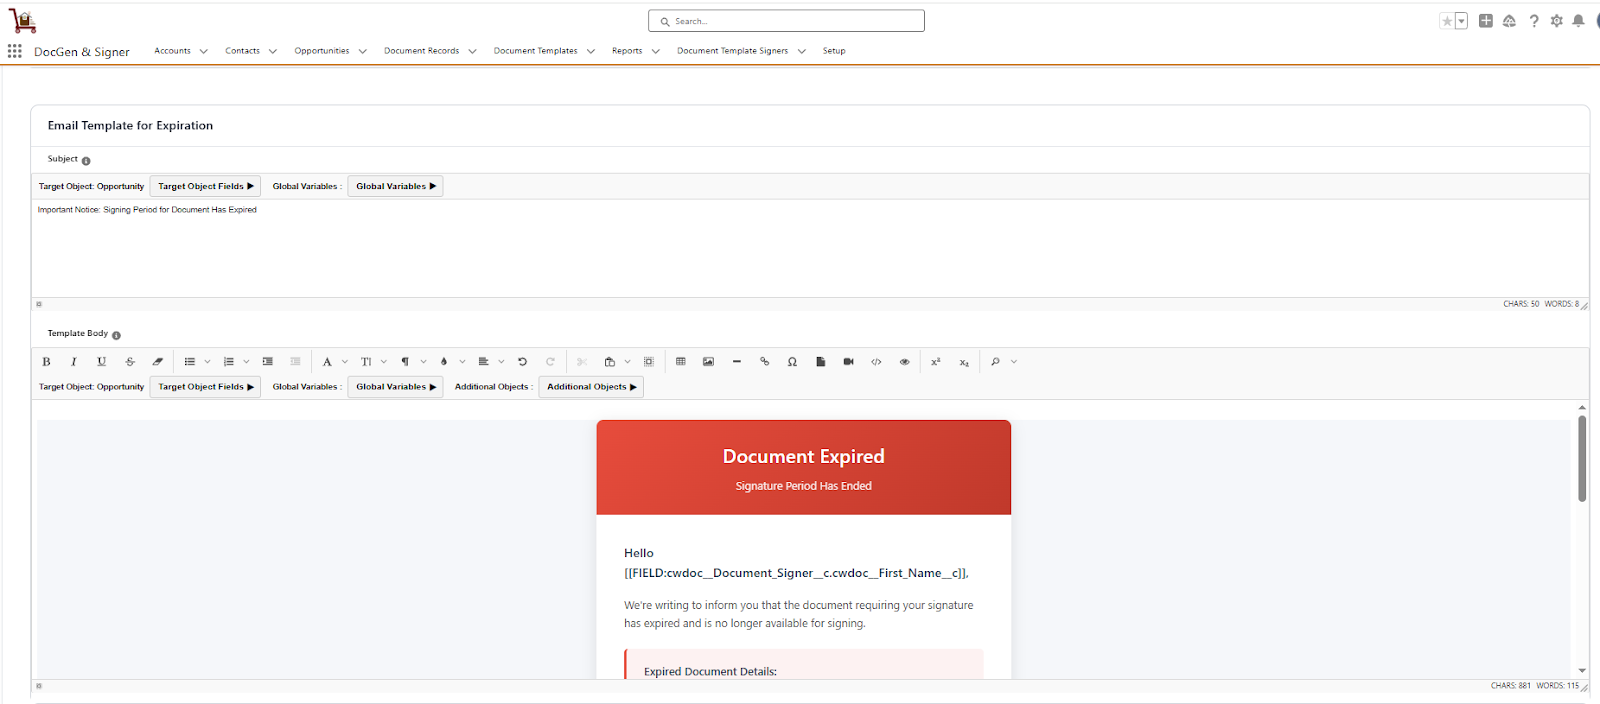
- Email Template for Expiration: This template is automatically sent when a document reaches its expiration date without being signed. It notifies all relevant parties that the document is no longer valid for signing.
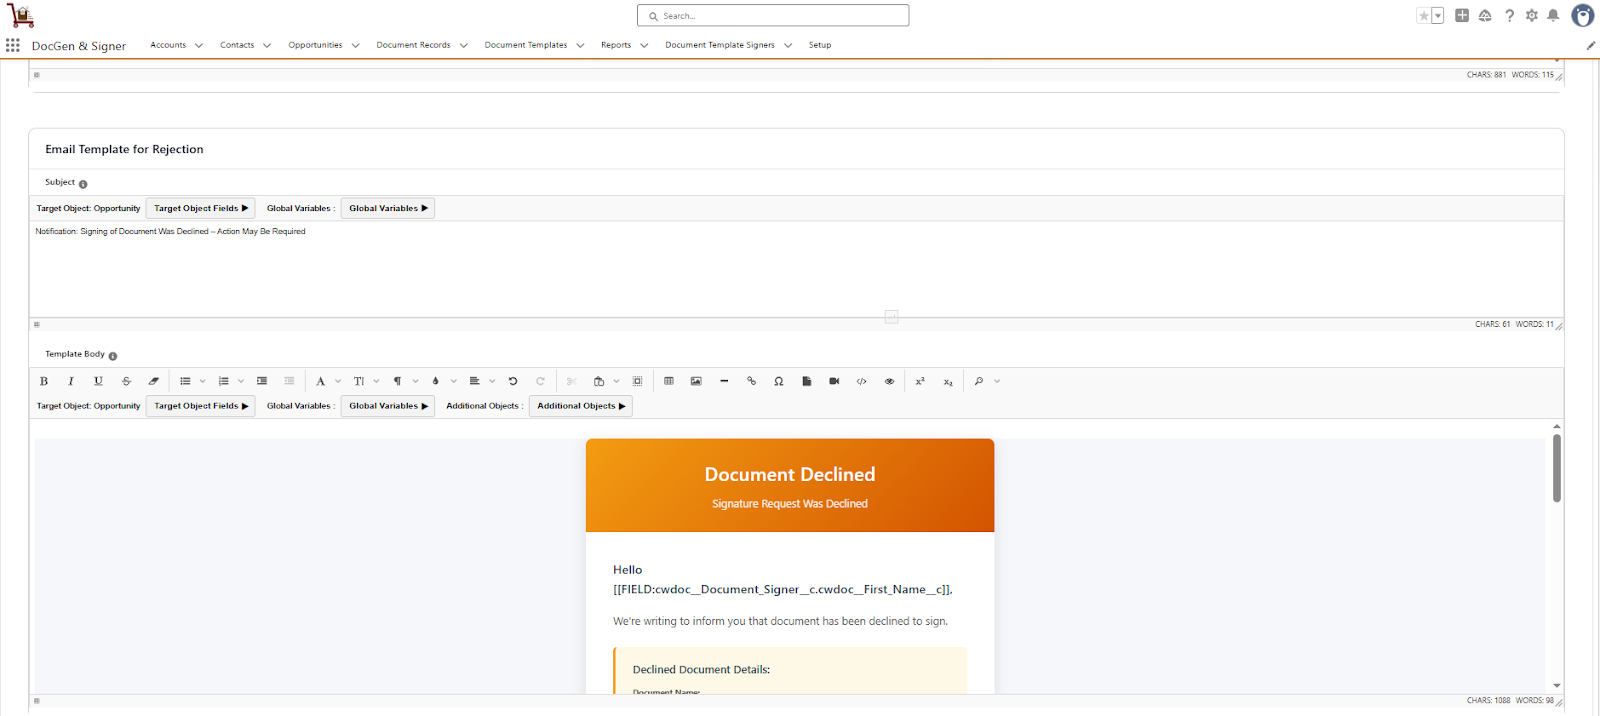
- Email template Rejection : This template is triggered when any signer declines to sign the document. It informs all involved parties that the document has been rejected and provides the reason for rejection if one was given.
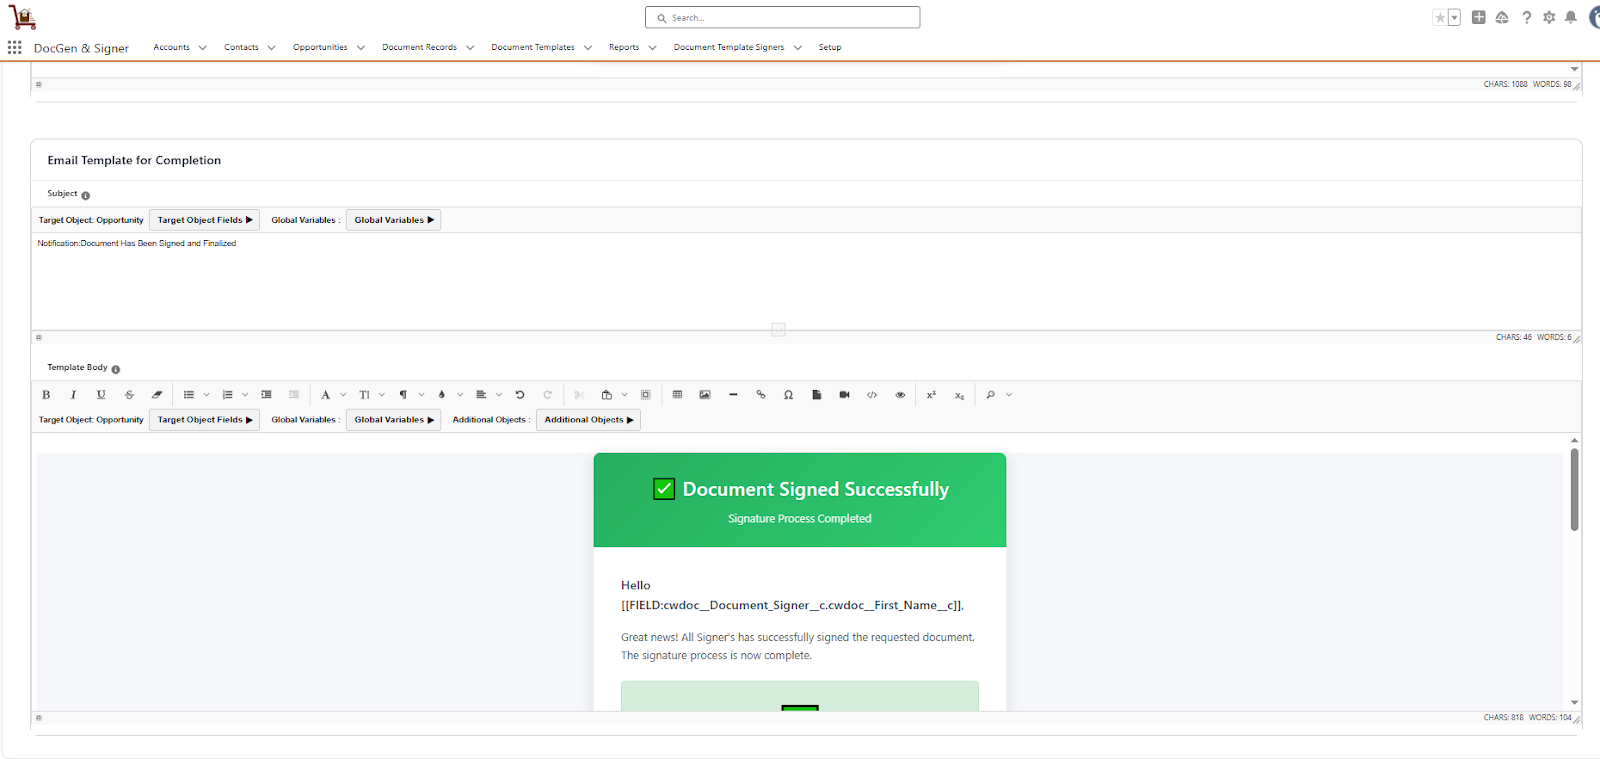
- Email template Completion: This template is sent to all signers and relevant parties when a document has been fully executed by all required signers. It typically includes a copy of the completed document and confirms the successful signing process.
Navigation Buttons
| Buttons | Description |
| Save | Saves the configuration and stays on the current screen. |
| Save and Next | Saves data and proceeds to the next tab (e.g., Template or Preview). |
| Reset | Clears any unsaved entries. |
| Previous | Returns to the prior section. |

Note: When the Enable Signature option is turned off, the Welcome Page and OTP Verification settings under General Settings are hidden, and the Site Settings tab is not displayed. The Site Settings tab becomes visible only when the Enable Signature option is turned on and at least one signer is added.
After clicking Save and Next, you will be navigated to the Template Section.
![]() SEE ALSO :
SEE ALSO :
____👉Template section Creation