


 Generate Document
The document generation process automatically creates finished, professional documents by combining your pre-designed template with live data from Salesforce. Once your template is fully configured with dynamic fields, layout design, and branding settings, generating a document is a seamless one-click process.
The system pulls information from the specified record (such as an Opportunity on Account) and all its related data, inserting it directly into the correct places in your template. It applies all your formatting rules, security settings, and branding elements to produce a polished PDF or Word file, ready for immediate use, sharing, or signing.
If the Generate Document button is not appearing on your target object page, follow this configuration process:
Steps :
➢ Navigate to the target object on which the document is created.
➢ Click the (⚙️ Gear icon) and select Edit Object.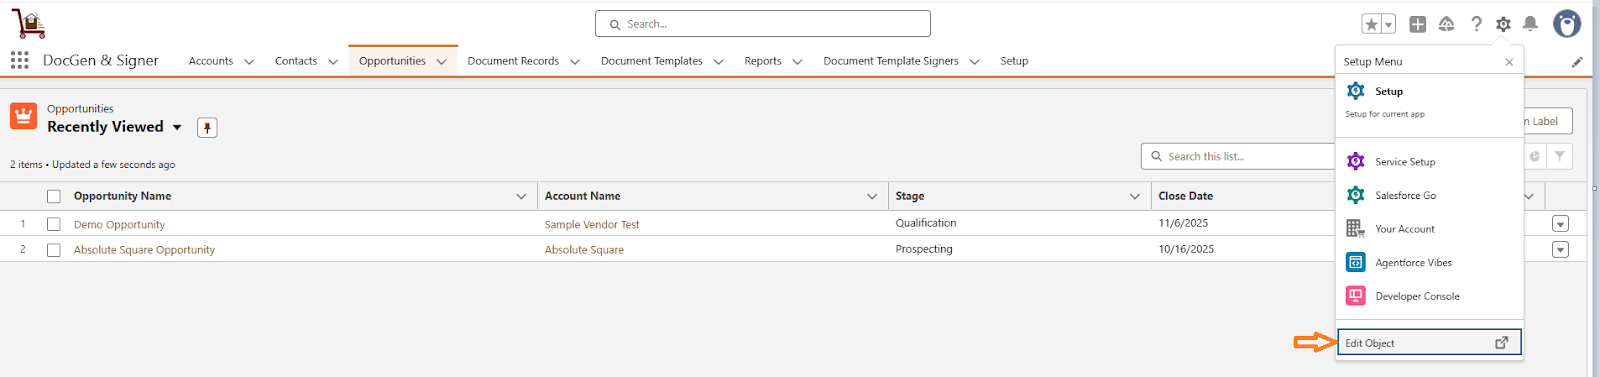
➢ Go to the Button, Links and actions section.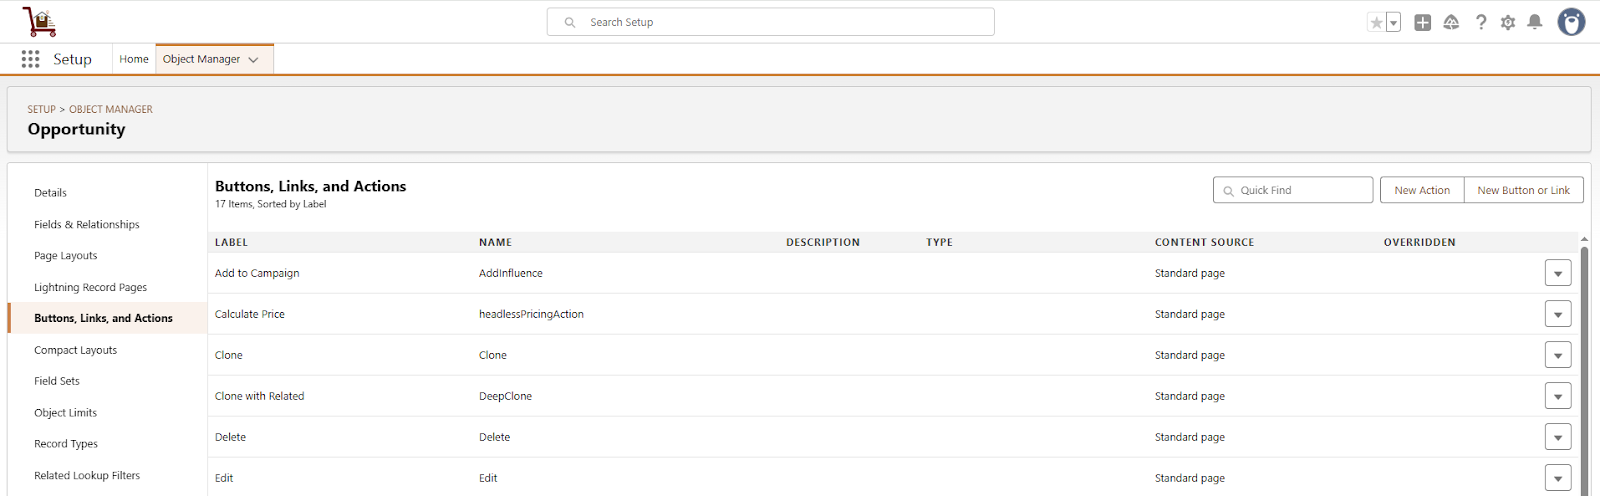
➢ Click on New Action .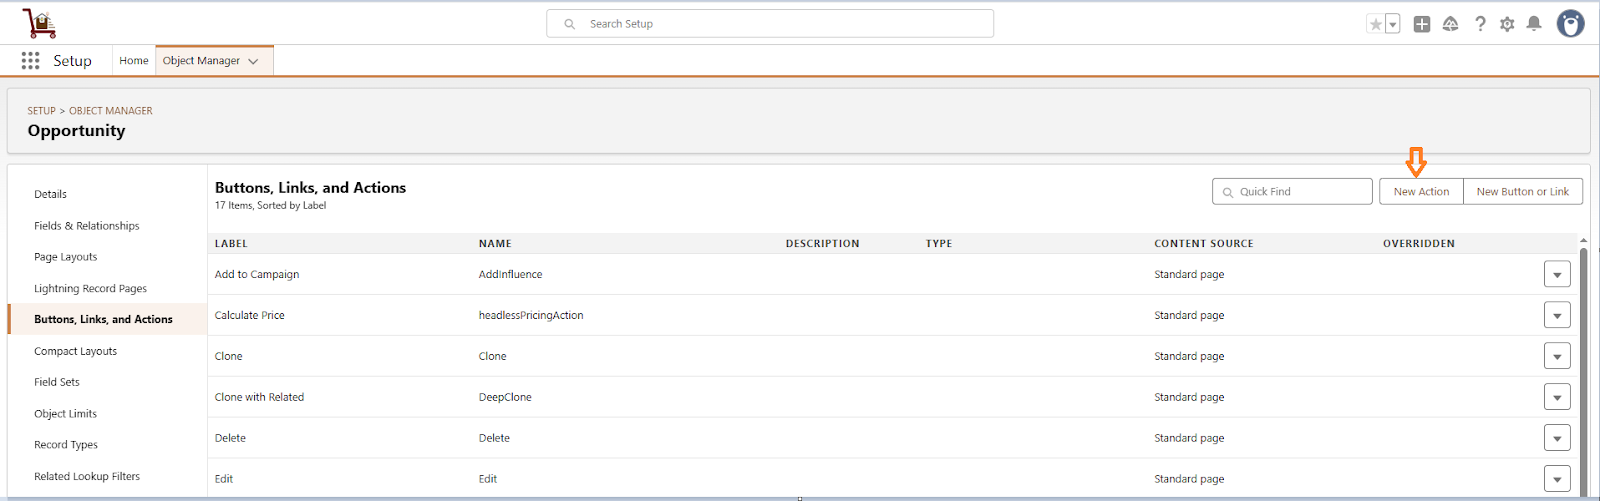
➢ Select Action Type as Lightning Web Component, choose Lightning Web Component as
documentGenerator, and provide an appropriate Label.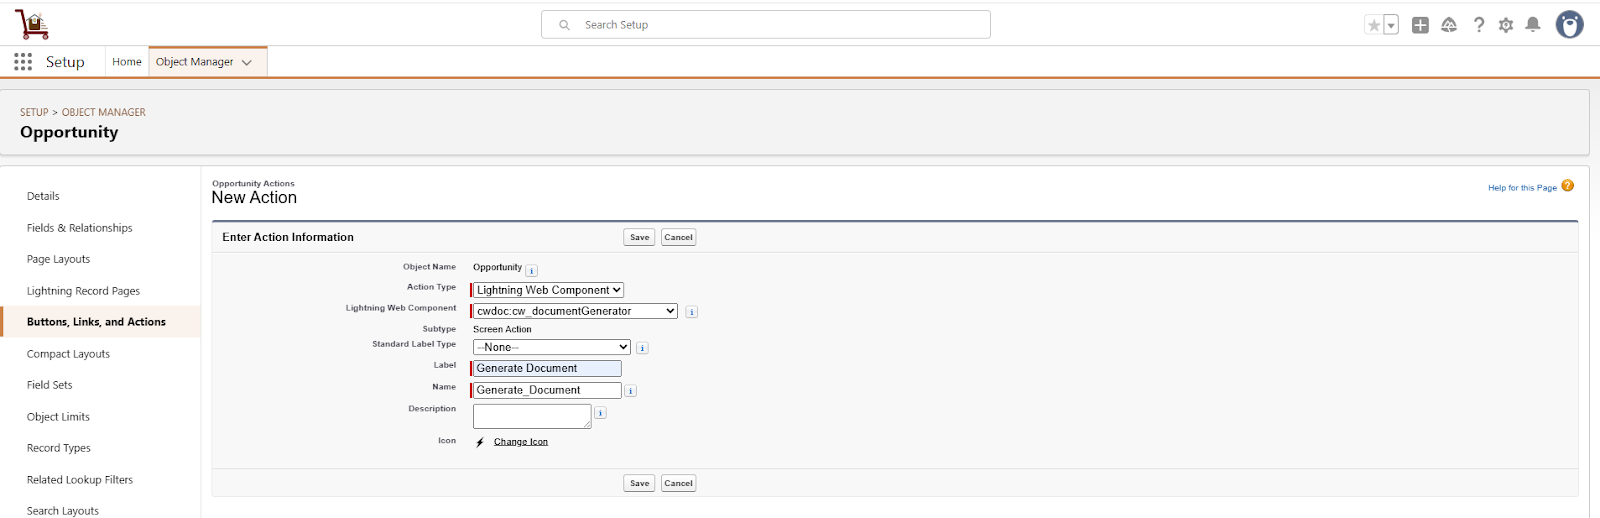
➢ Click on Save.
➢ Go to the Page Layouts section on the same object.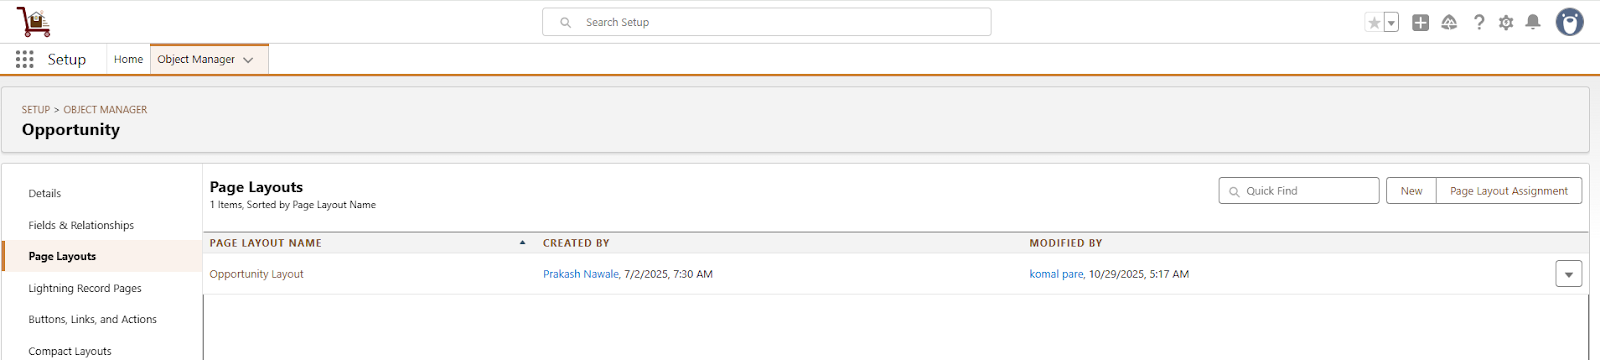
➢ Select the desired Page Layout.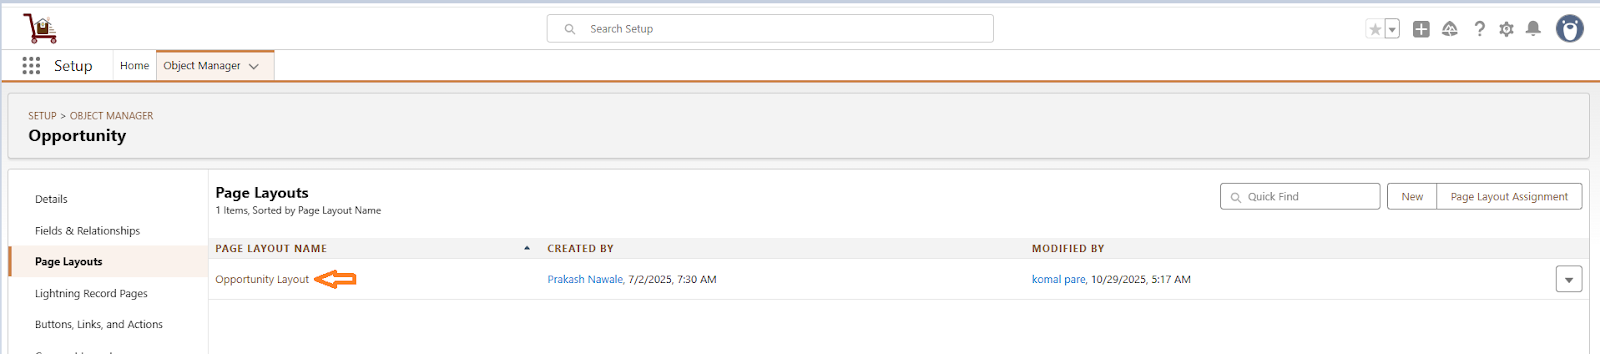
➢ In the Layout editor, Go to Mobile & Lightning Actions.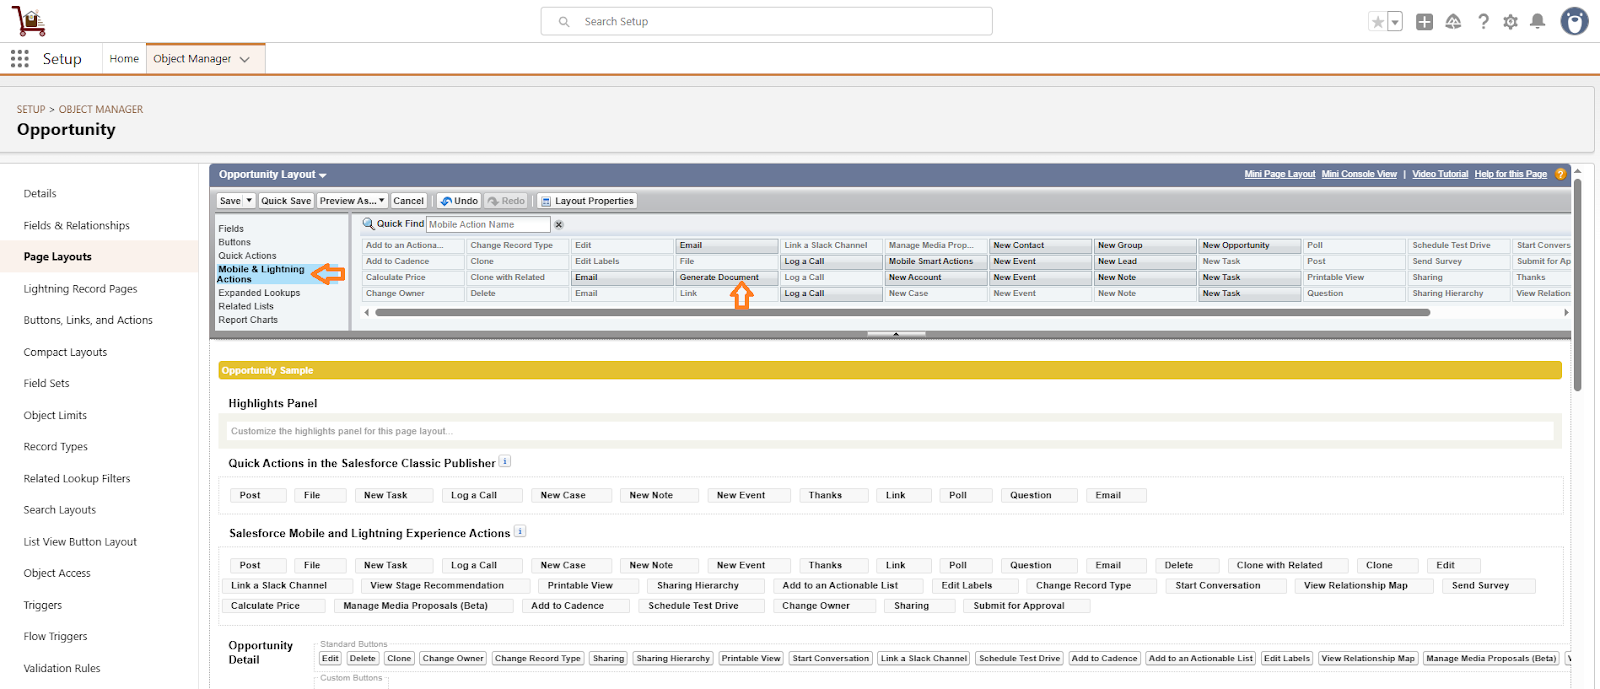
➢ Drag and drop the Generate Document button onto the layout.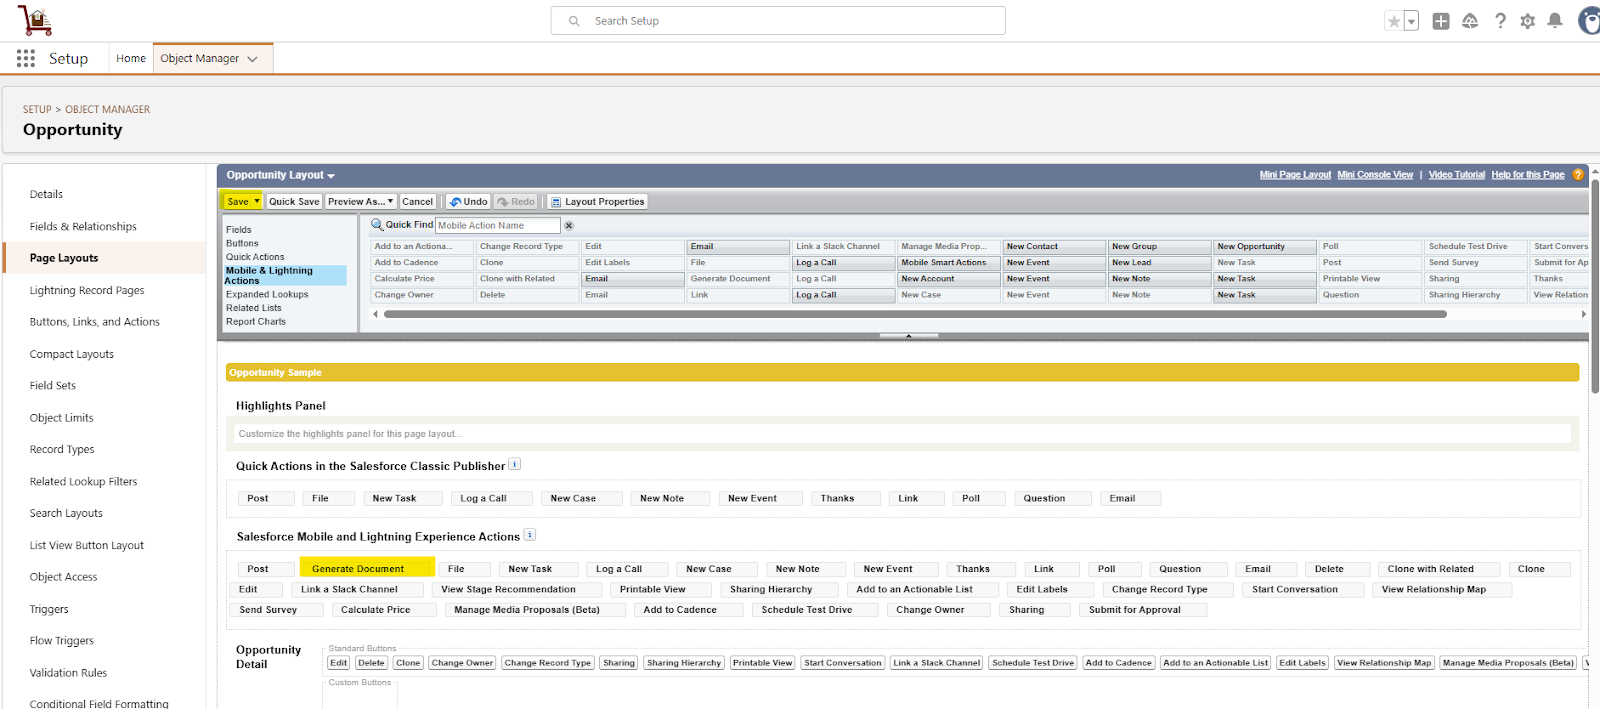
➢ Click Save.
➢ Return to the object record page and refresh to view the Generate Document button.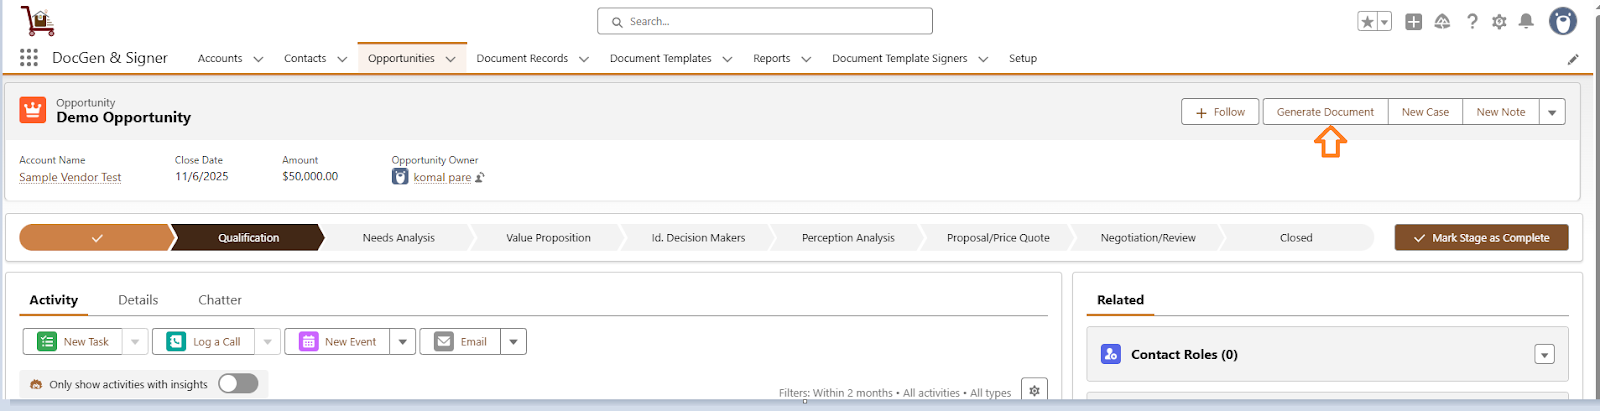

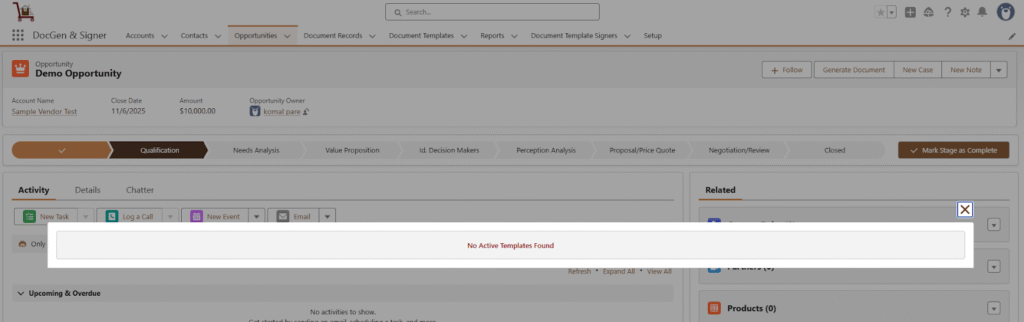
Note: If the document template is not activated the system displays a message.
Created , Completion, Rejection ,Remainder and Expired Emails
- Created Email → This email is sent when a document is created and initiated for the signing process. It notifies the signers that a new document is available for their review and signature, marking the official start of the signing workflow.
- Completion Email → Once all signers have successfully signed the document, every signer will receive a completion email containing a copy of the final sign document.
- Rejection Email:
- If any signer rejects or declines to sign the document, the signing process is immediately terminated.
- All signers who have already signed will be notified that the document has been rejected and is invalid.
- If any signer rejects or declines to sign the document, the signing process is immediately terminated.
- Reminder Email (If configured in the signer section) → The reminder email is automatically sent to signers who have not yet signed the document within the defined timeframe. It serves as a gentle notification, prompting pending signers to complete the signing process before the expiration date, helping ensure timely completion of the document.
- Expired Email → This email is triggered when a document is not signed within the defined expiration period. Once the expiration date is reached, the signing process automatically ends, and an expiration email is sent to all signers. This email notifies them that the document has expired and is no longer valid for signing.
Steps to generate the document with signers
➢ Navigate to the Target Object
Go to the Target Object selected while creating a document and open the desired object record.

➢ Generate the Document
Click on Generate Document. If the Generate Document button is not visible, click to add it to the page layout and check its steps. (after click on this check the steps of Generate Document)
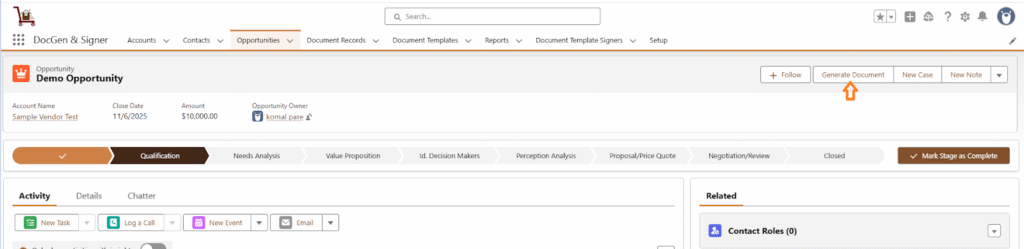
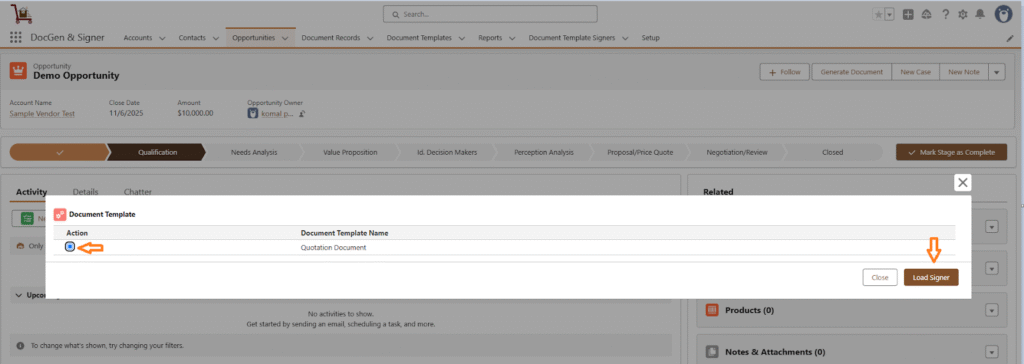
➢ You will see the document template you previously created.
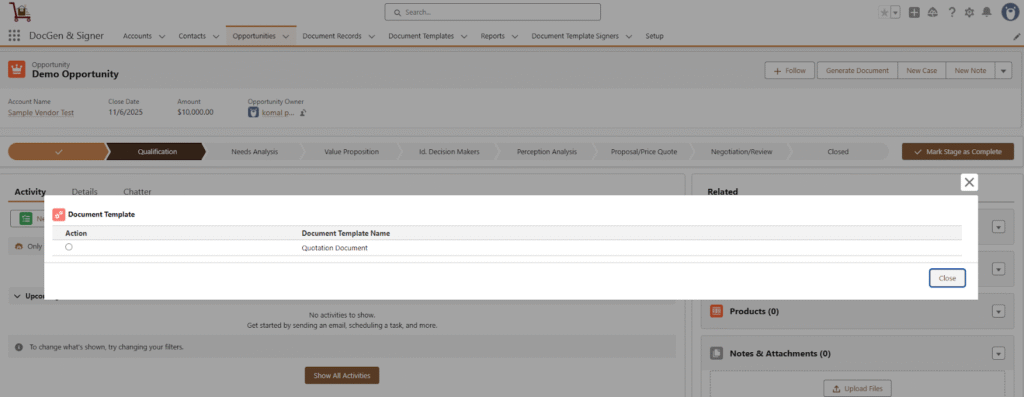
➢ Load the Signer
Select the document template and click on Load Signer.
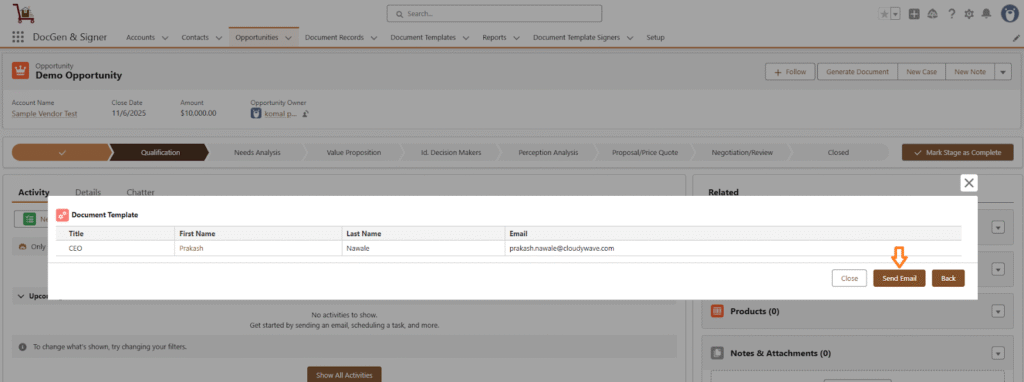
➢ Send the Document for Signing
Click on Send Email. The signer will receive an email with the subject to sign the document.
➢ Open the Email and Begin Signing
Open the email and click Review and Securely Sign. If you encounter any errors while accessing the document, click here to troubleshoot the issue.
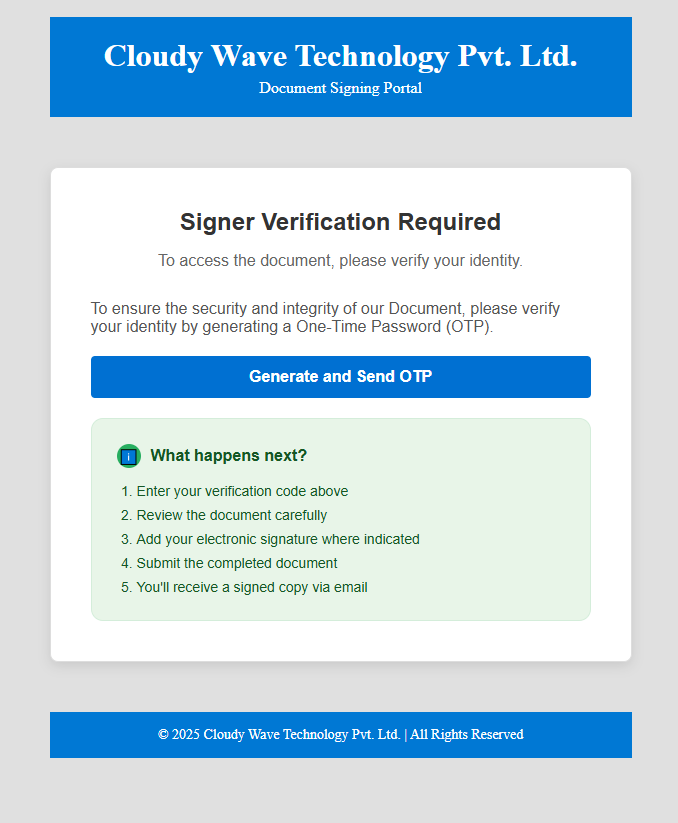
➢ OTP Verification (If Enabled)
Click on Generate and Send OTP. You will receive a verification code via email. Enter the code and click Verify and Proceed.
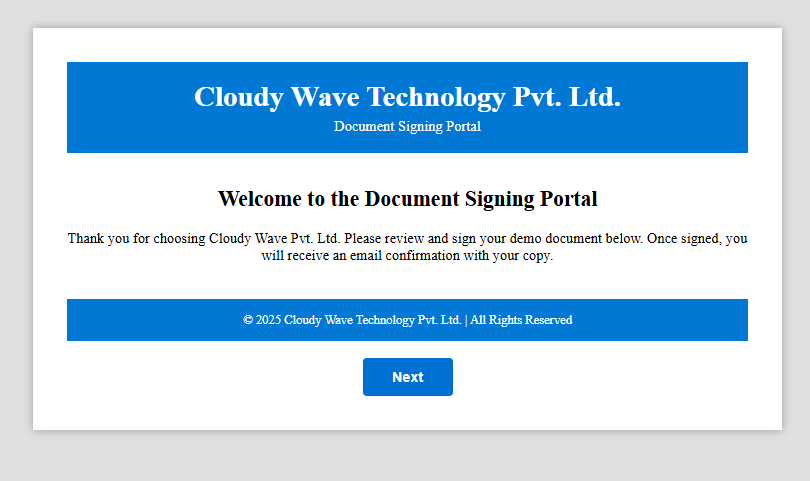
➢ Welcome Page (If Enabled)
If the Welcome Page is enabled, it will appear after verification. Click Next to continue.
➢ View Document
The document template will be displayed.
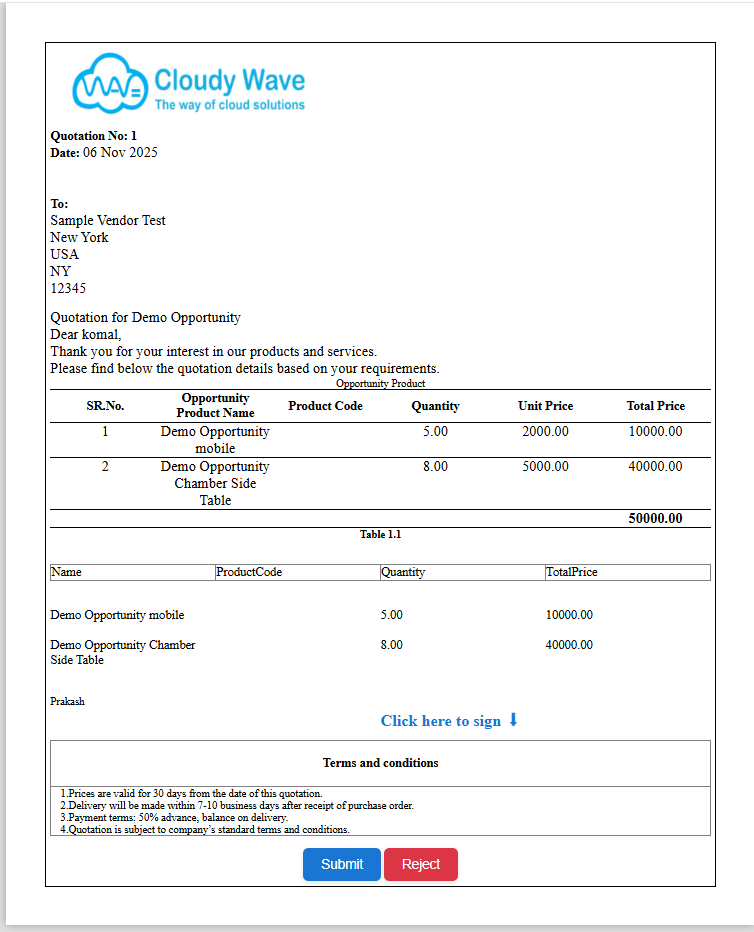
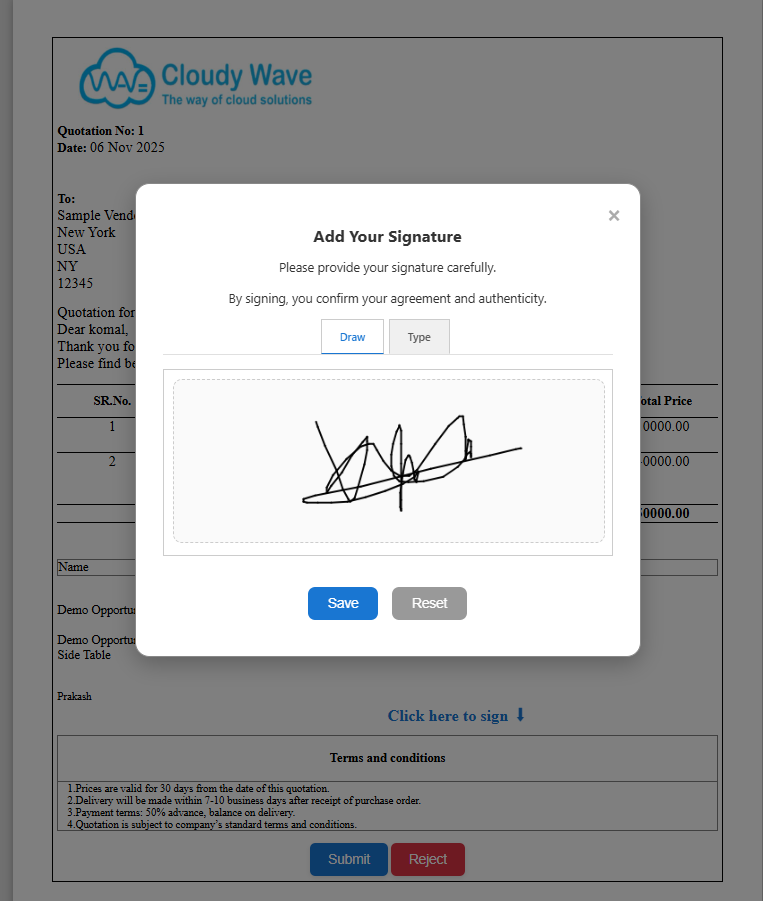
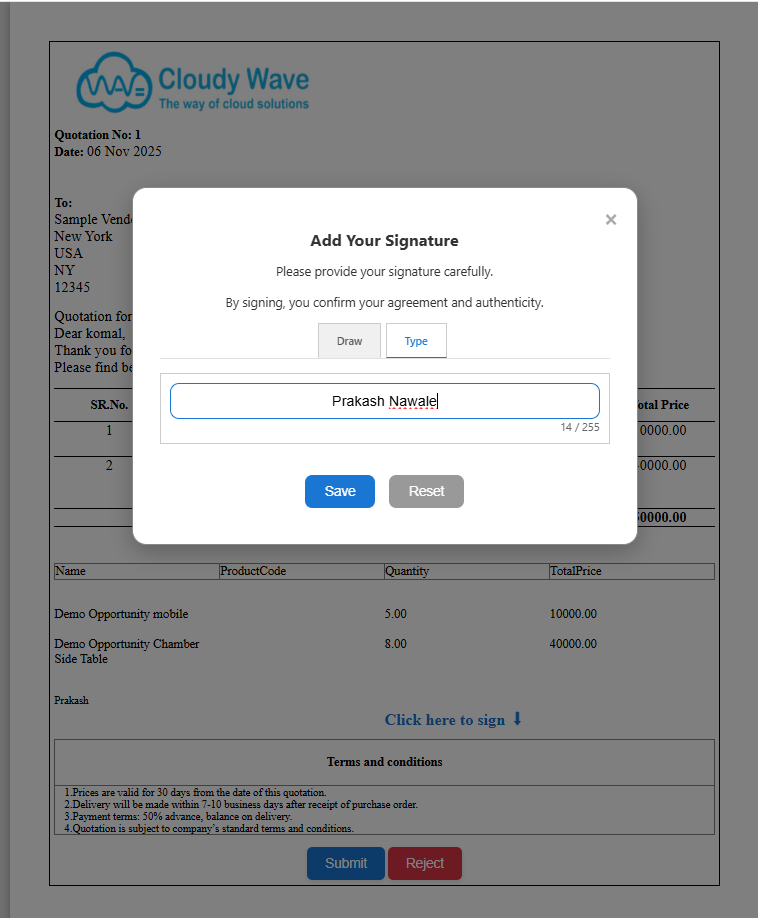
➢ Click on Click here to sign the document.Sign the document by drawing or typing .Then click Save to temporarily save your signature.
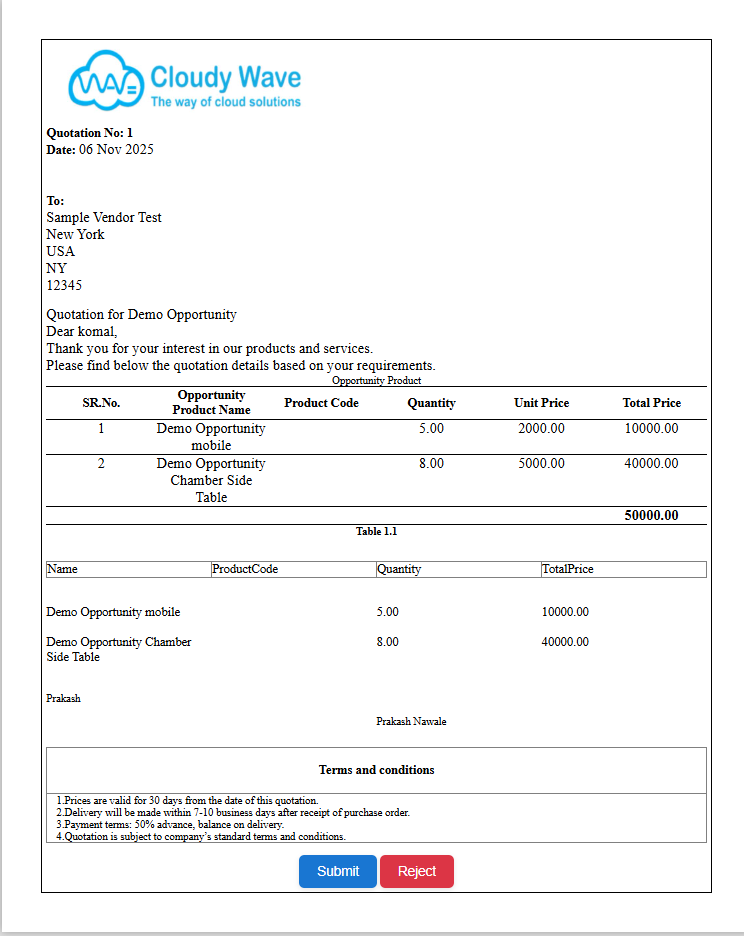
➢ Submit the Signed Document
Click on Submit to finalize the signing process. If navigation is enabled, you will be redirected to the provided success URL. If not, a success or failure message will be displayed.
➢ Reject the document
A user can reject the document if they are not satisfied with its conditions or content. While rejecting, the user is required to provide a rejection reason, which helps indicate the necessary modifications or clarifications needed before the document can be resent for signing.
✅ Example: If redirect is enabled and a success URL is provided (e.g., https://www.google.com/), the user will be redirected there after submitting.
➢ Multi-Signer Process
If there is another signer in the list, an email will be sent to the next signer. The same signing steps will be followed for each signer.
➢ Completion
Once all signers have completed the process, a completion email will be sent along with the signed document attached.
Troubleshooting Authentication or Document Access Issues After Clicking the Sign Link
If you encounter an authentication error or a document access issue after clicking the Sign link, follow the steps below to troubleshoot and resolve the problem.
Step 1: Create a New Permission Set
In this step, you will create a new Permission Set in Salesforce to define what level of access a user — in this case, the Guest User — should have for specific objects. These are the target objects that were selected during document creation.
Permission Sets allow you to grant additional access to users without modifying their profiles, ensuring flexibility and security when managing permissions.
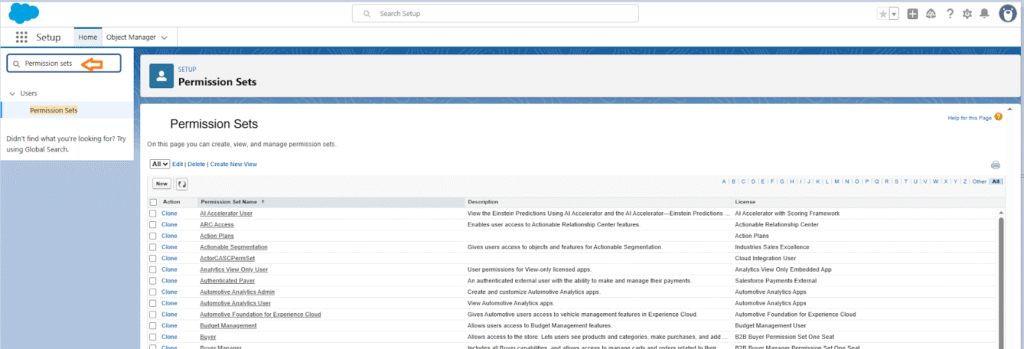
➢ Go to Setup (⚙️ Gear icon).
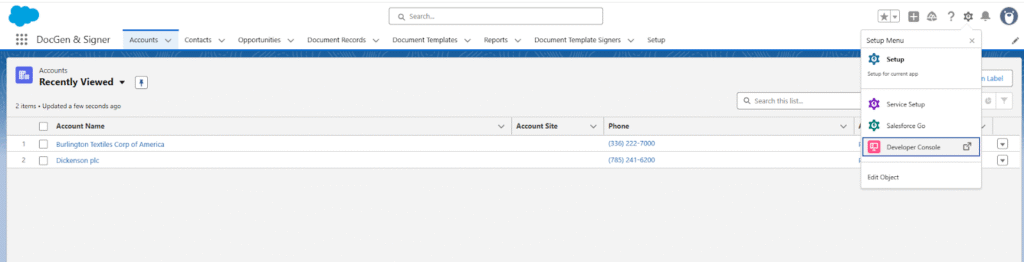
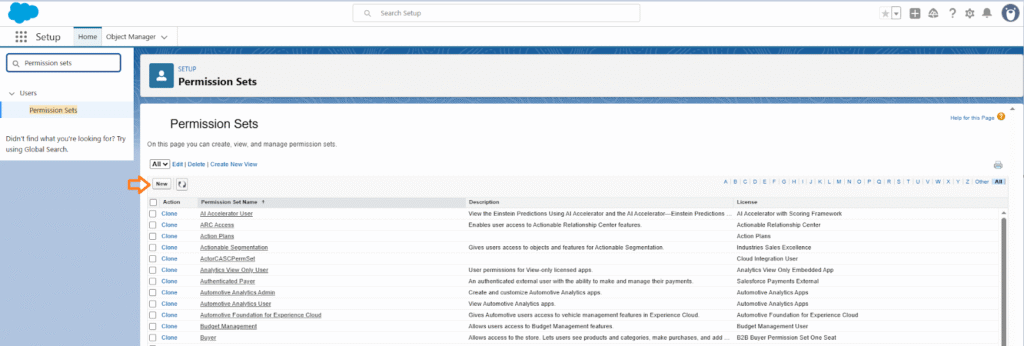
➢ In the Quick Find box, type Permission Sets and select it.

➢ Click New to create a new permission set.
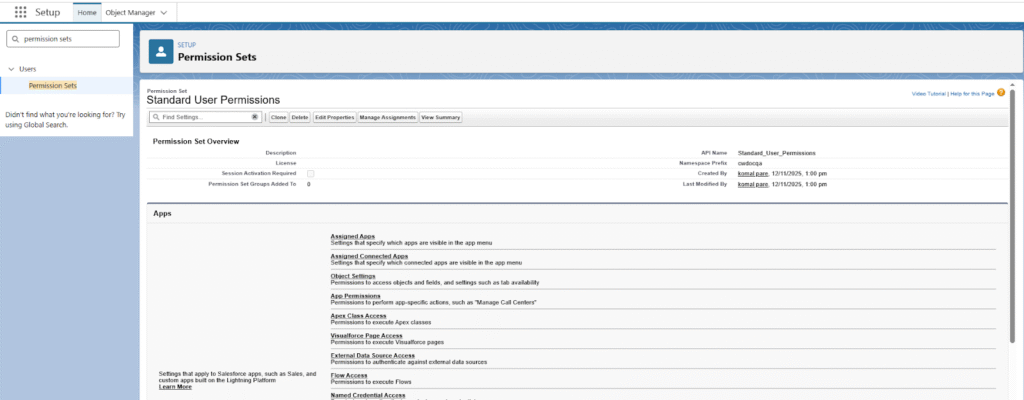
➢ Enter a Label for the permission set. (Standard User Permissions) .The API Name will be automatically populated.
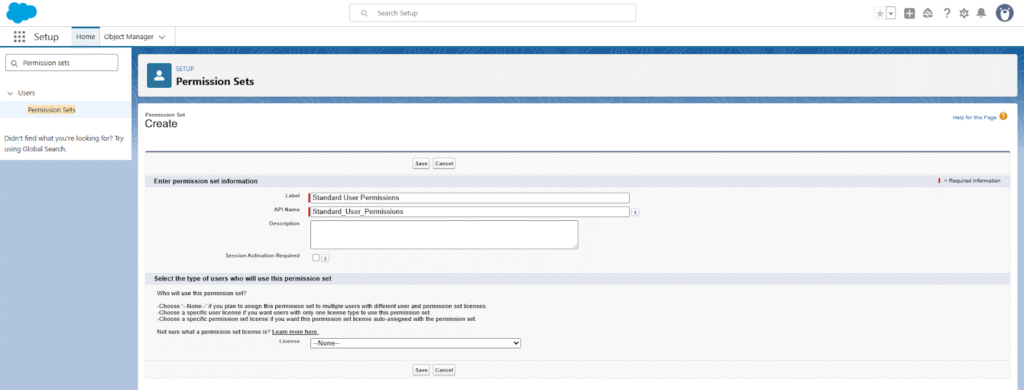
➢ Click Save.
➢ On the permission set details page, click Object Settings.
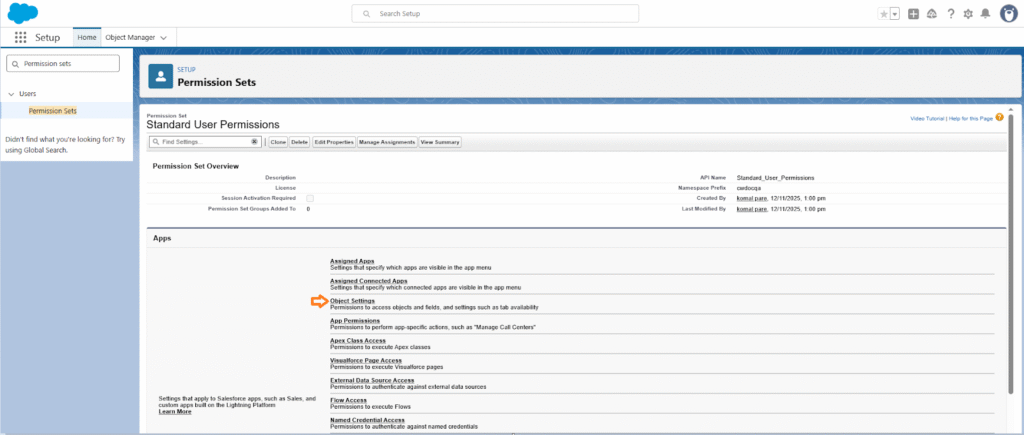
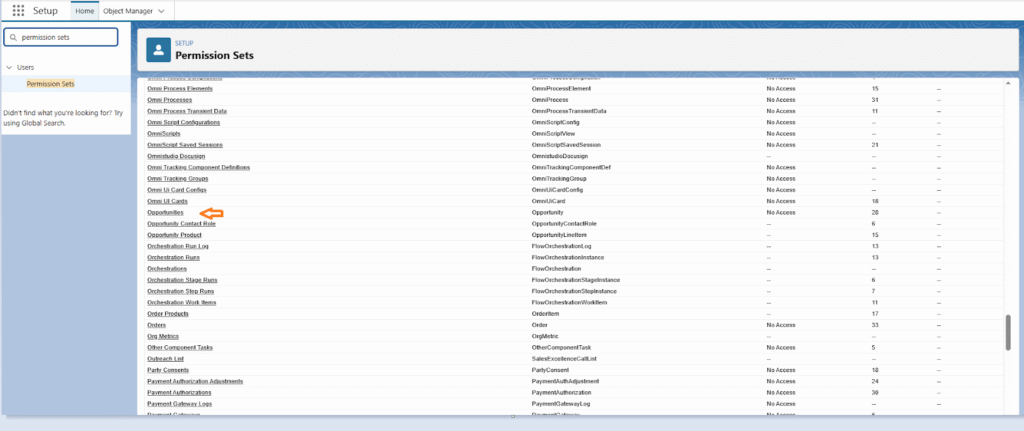
➢ Select the object for which you want to assign permissions (the target object used during document creation). And Click on Edit.
➢ Enable the Read and Edit access checkboxes.
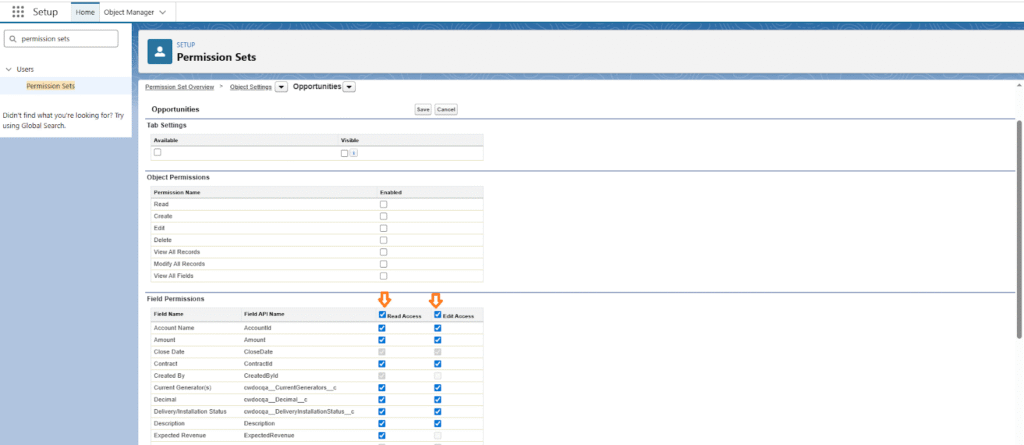
➢ Click Save.
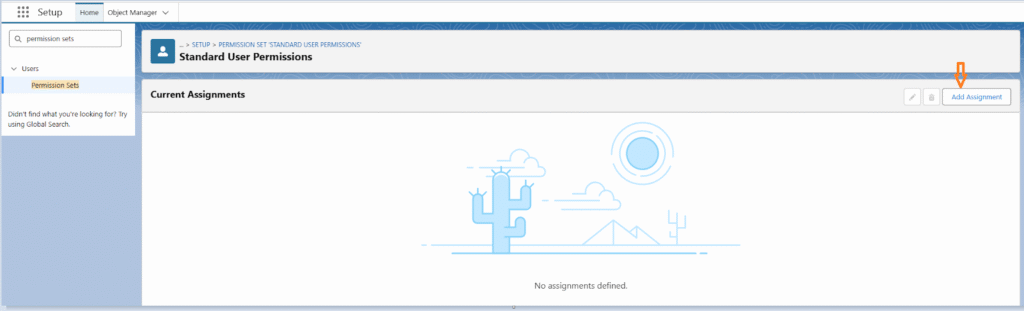
➢ Click Manage Assignments.
➢ Click Add Assignments.
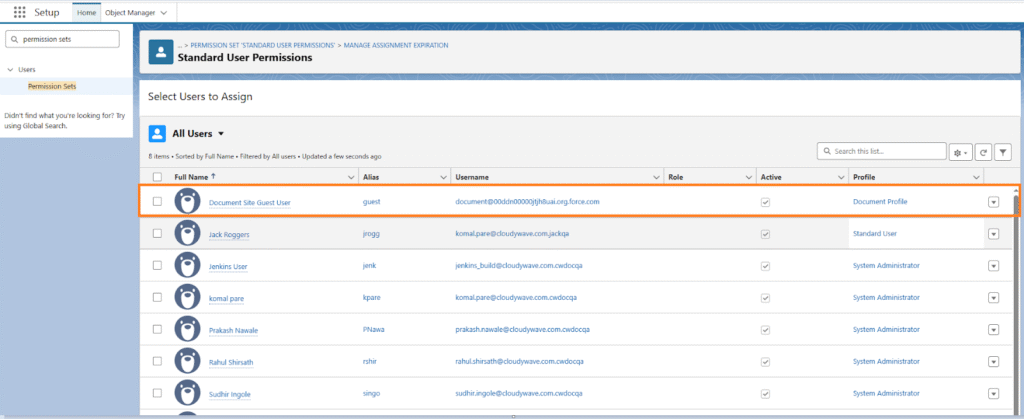
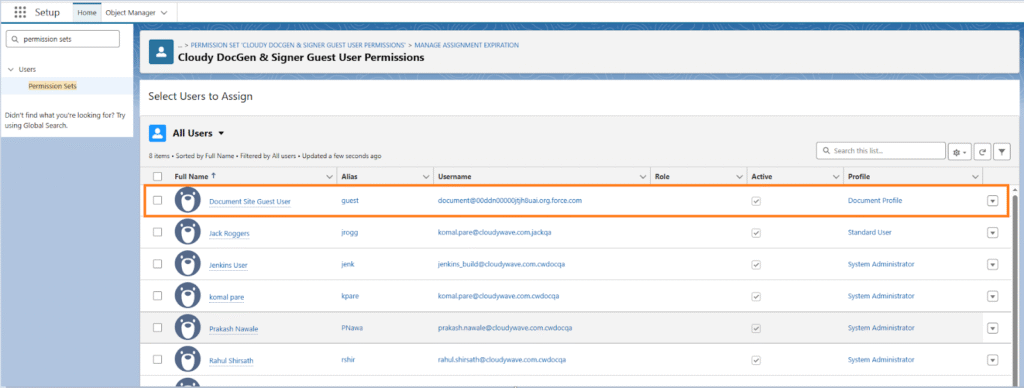
➢ From the list view, select All Users.
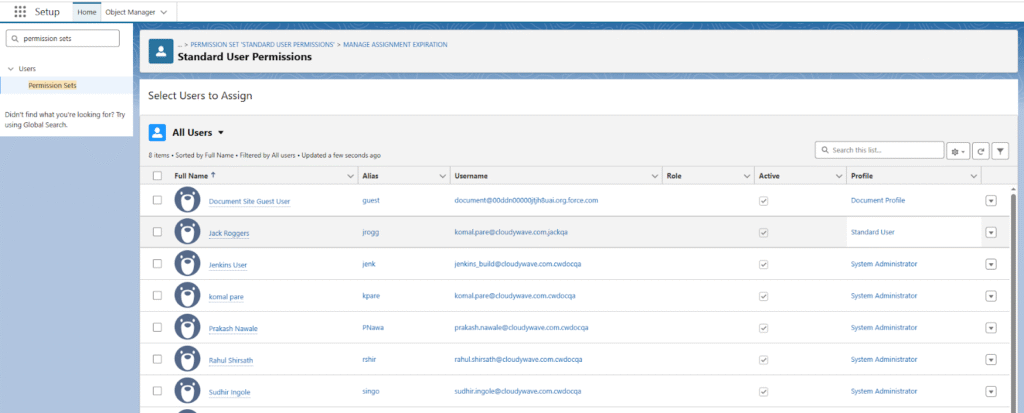
➢ Select the checkbox next to the Guest User. Also assign this to other users listed in below The guest user is automatically created by Salesforce when the site is created..
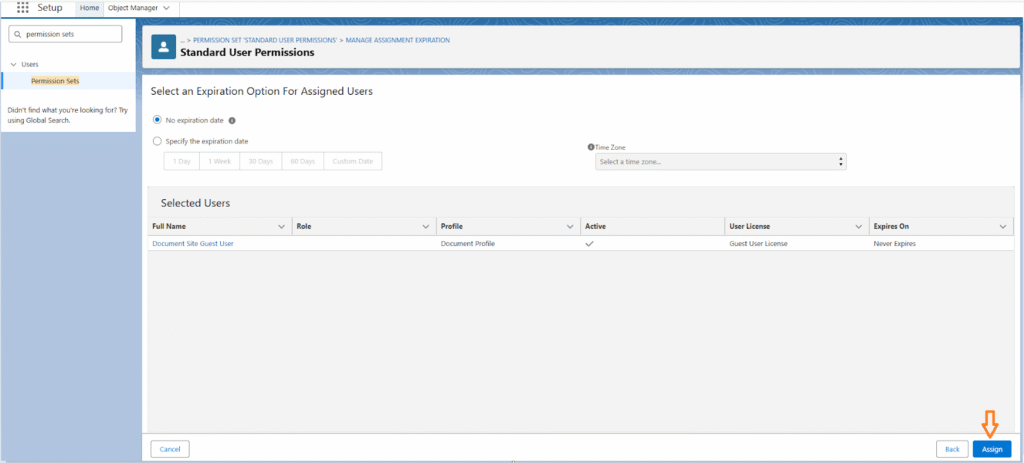
➢ Click Next, then click Assign.
➢ Refresh the org.
Step 2: Assign the Guest User Permission Set (Cloudy DocGen & Signer)
➢ Go to the Setup tab.

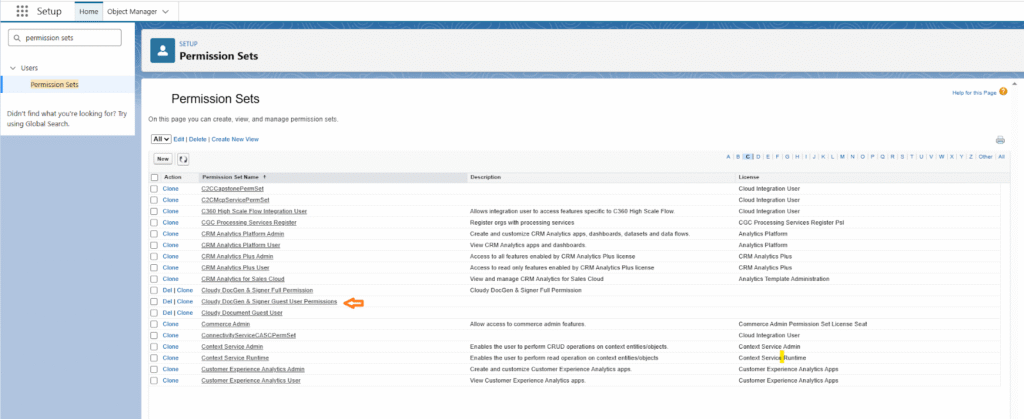
➢ In the Quick Find box, type Permission Sets and select it.
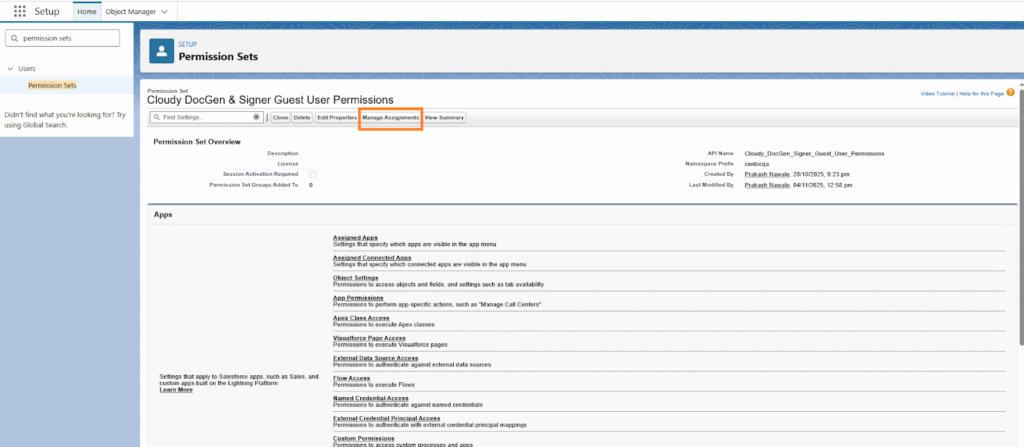
➢ Locate and open the Cloudy DocGen & Signer Guest User Permissions permission set.
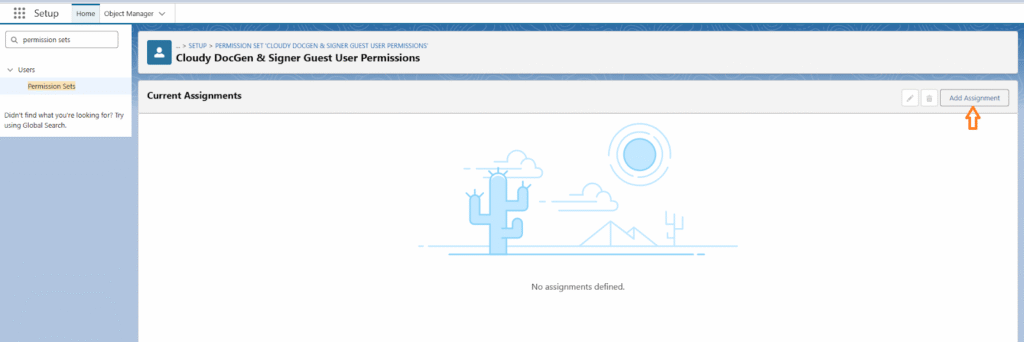
➢ Click Manage Assignments.
➢ Click Add Assignments.
➢ From the list view, select All Users.

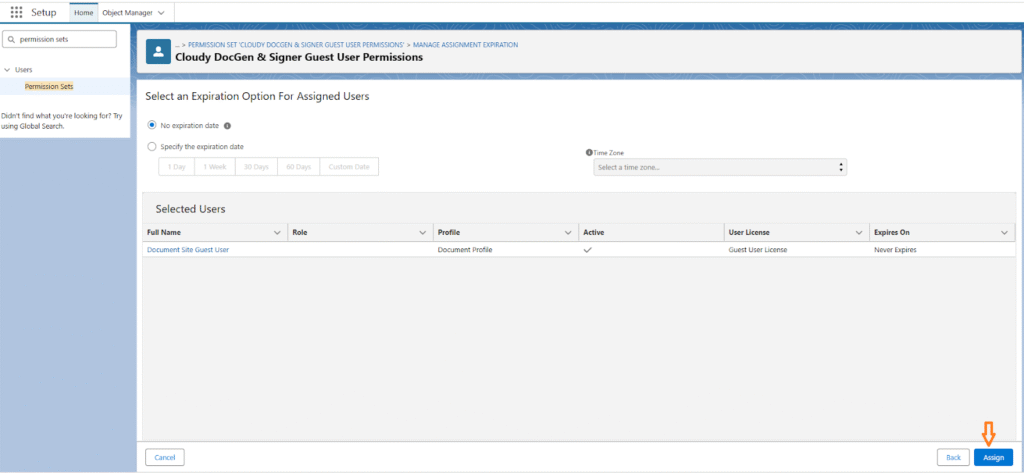
➢ Select the checkbox next to the Guest User. Also assign this to other users listed in below The guest user is automatically created by Salesforce when the site is created.
➢ Click Next, then click Assign.
➢ Refresh the org.
Step 3: Verify Access
Once the permission sets are assigned:
- Click the link provided in the email again.
- Verify that the document template is now accessible and that the authentication or access issue is resolved.
Steps to generate the document without signers
➢ Navigate to the Target Object
Go to the Target Object selected while creating a document and open the desired object record.
➢ Generate the Document
Click on Generate Document.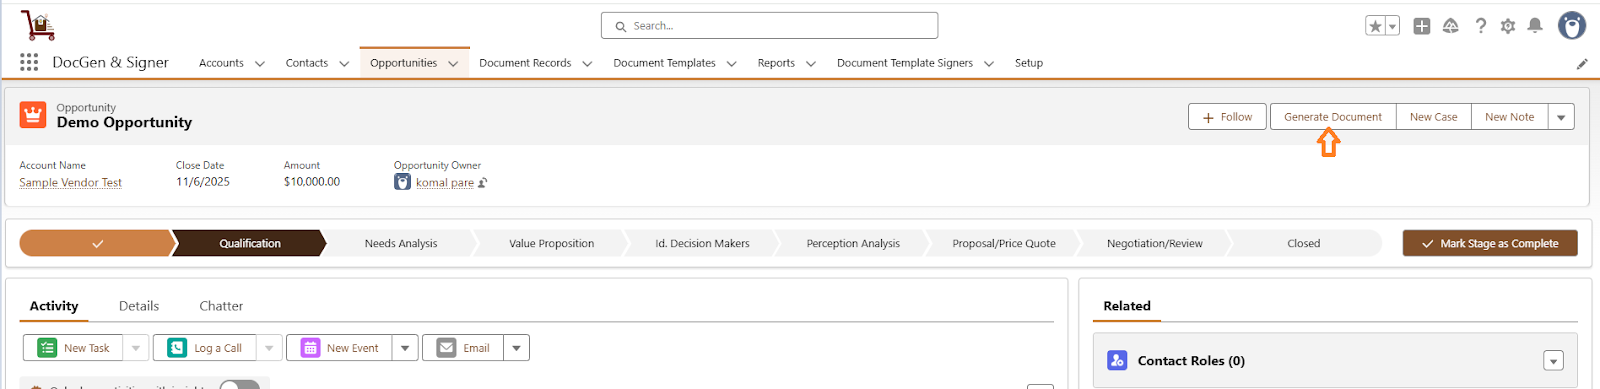
➢ You will see the document template you previously created.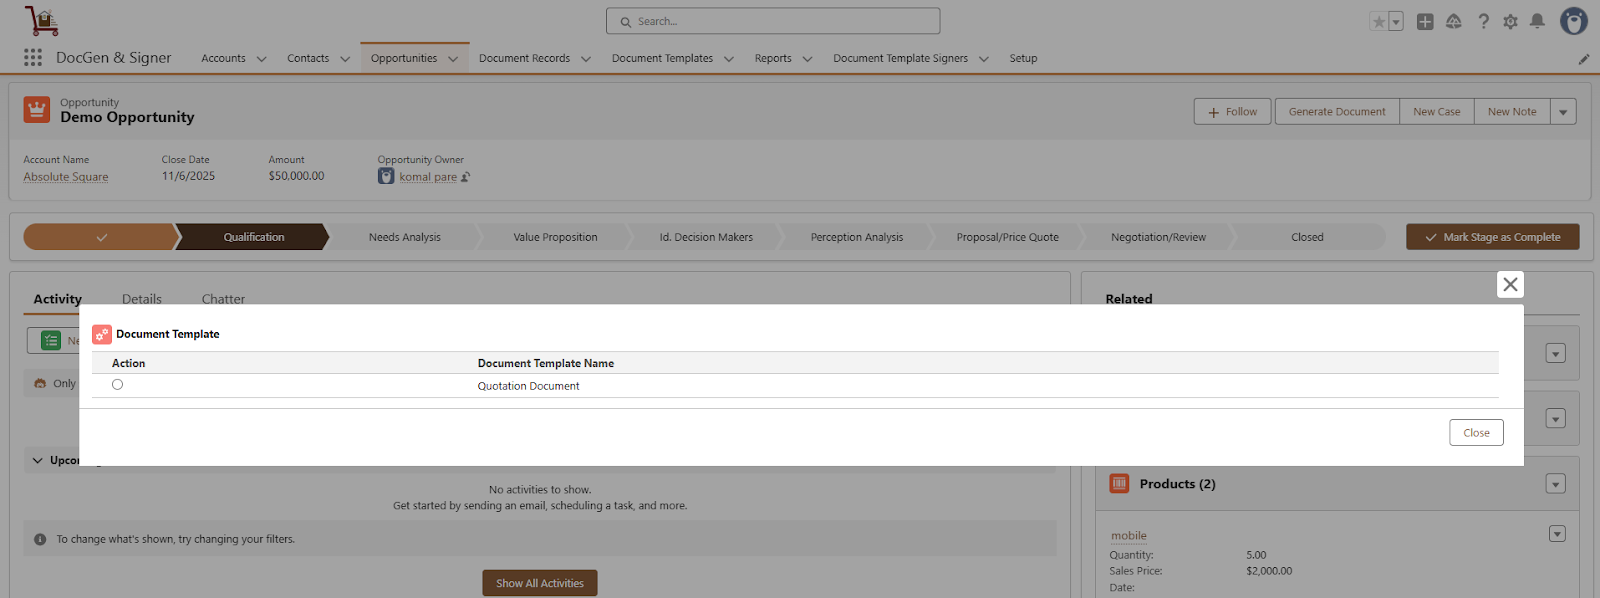
➢ Preview the document
To preview the document select the document and click on Preview.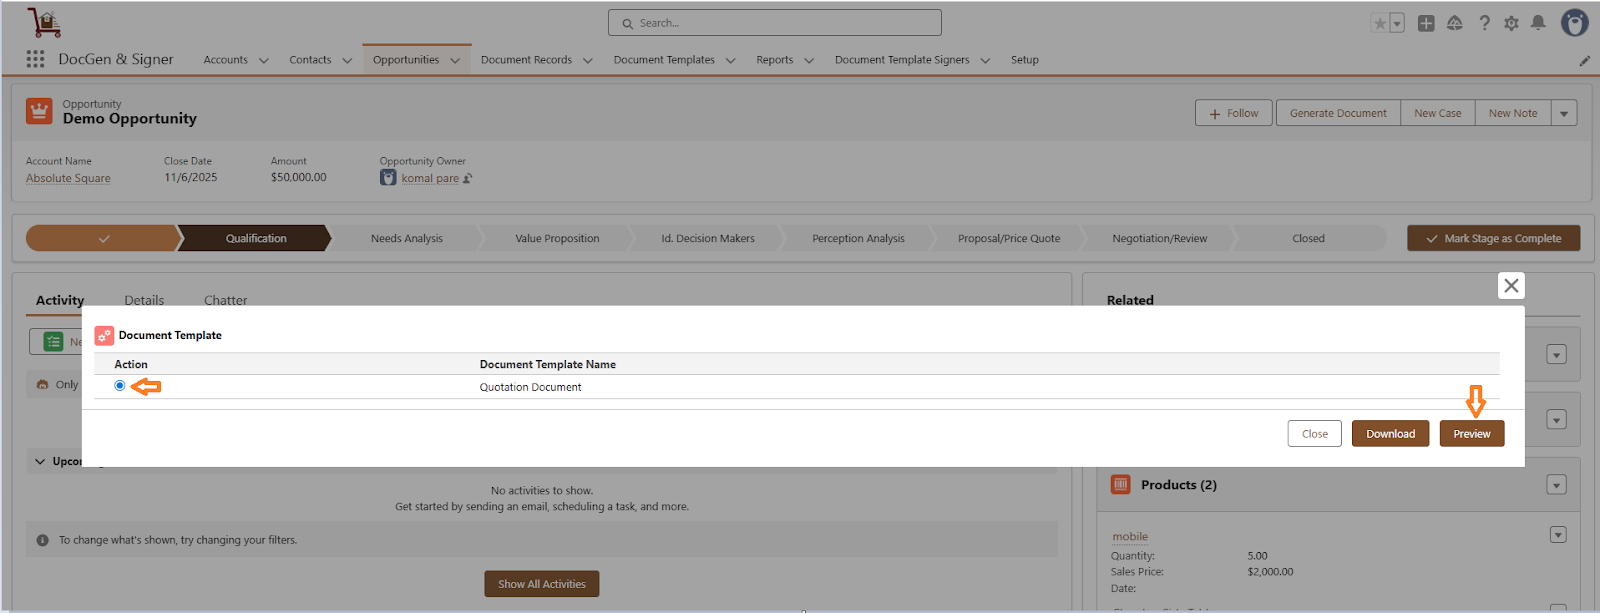
Document look likes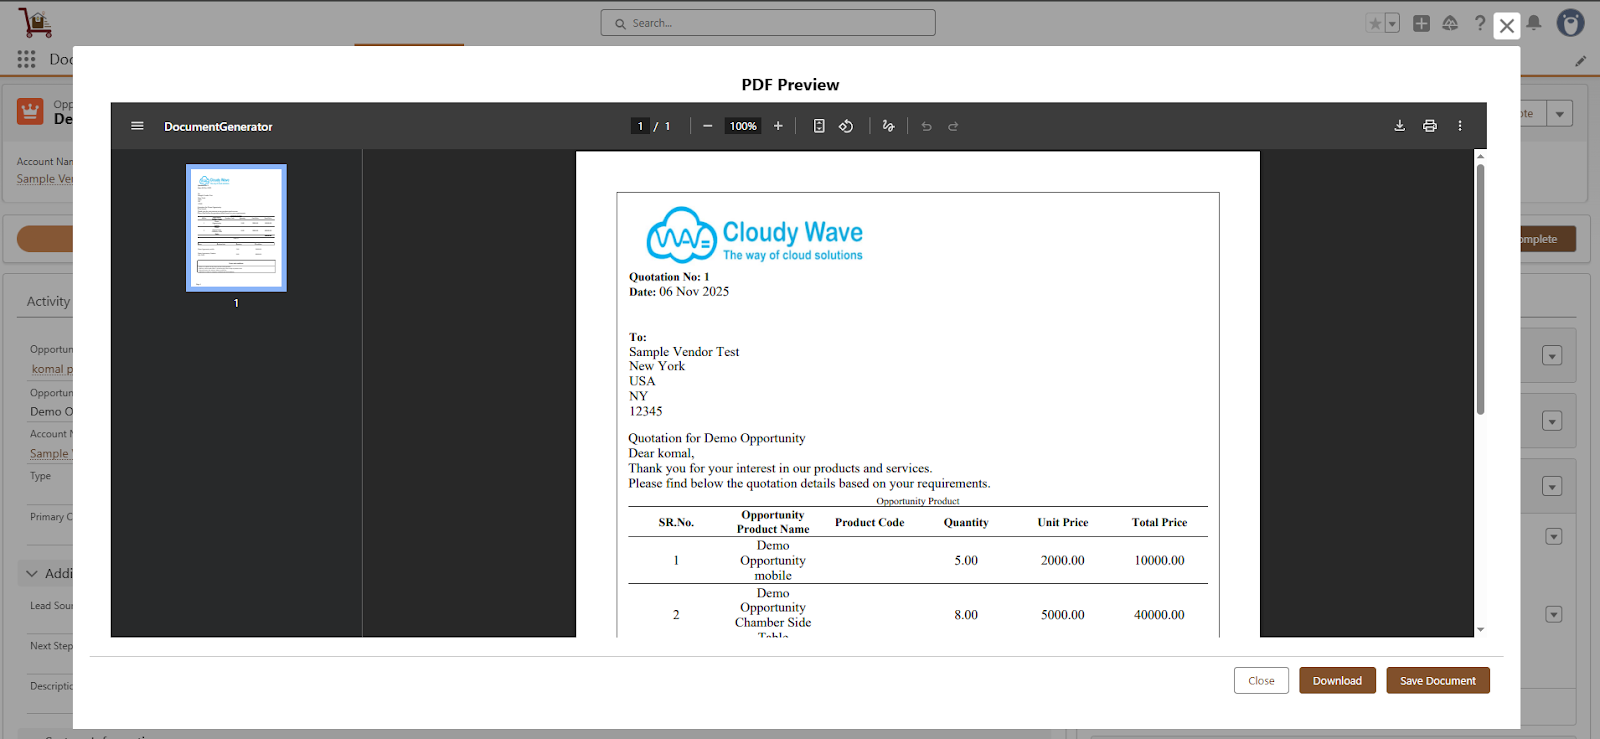
➢ Download the document
To download the document select the document and click on Download.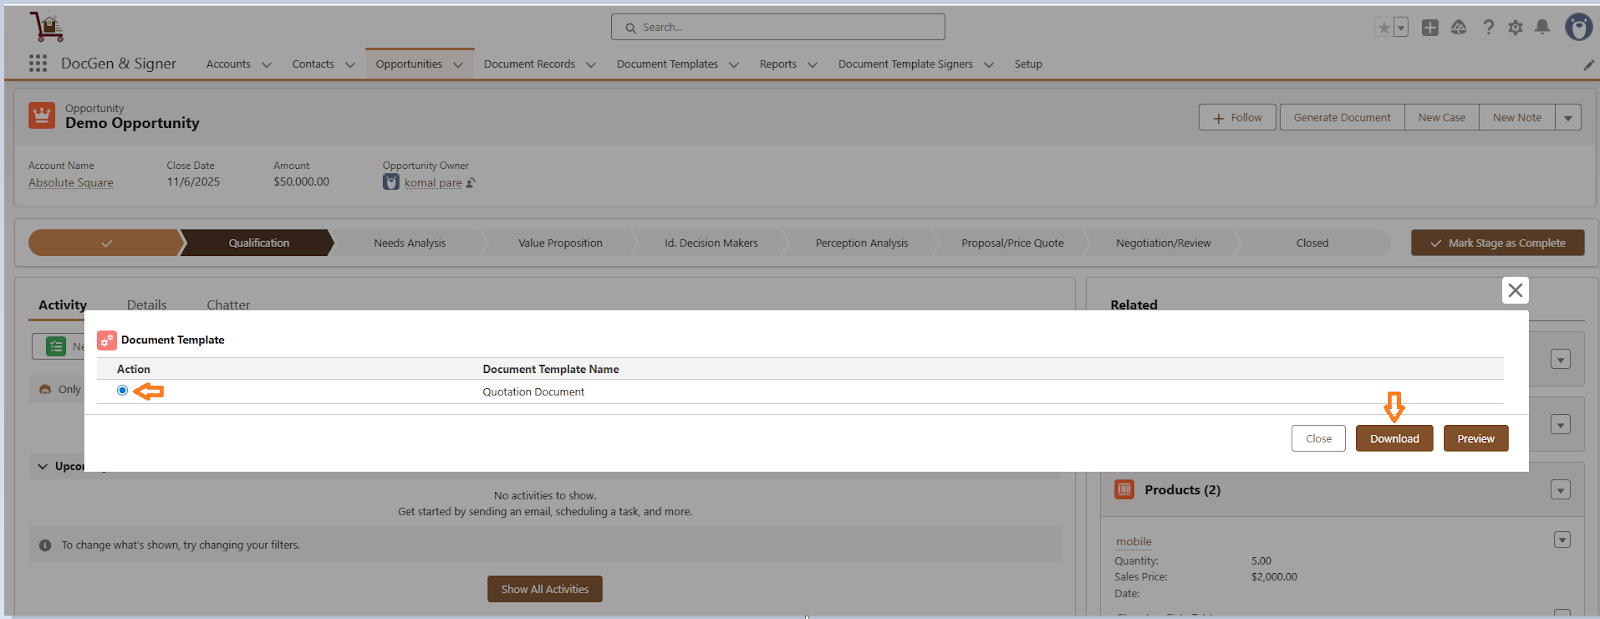
![]() SEE ALSO :
SEE ALSO :
____👉Preview document
____👉Download document
____👉Document Tracking