


 Survey Editor
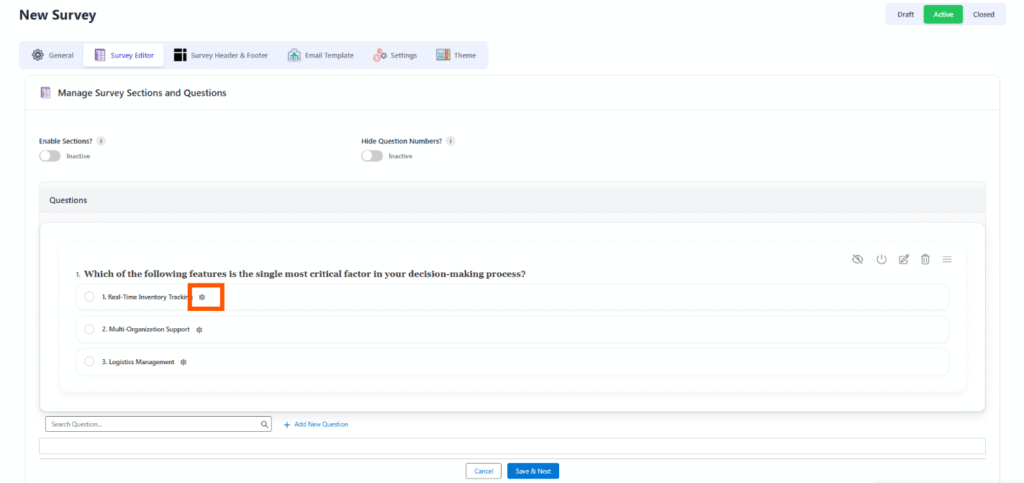
The Survey Editor allows users to manage survey structure by adding, editing, organizing, and customizing questions and sections. It provides full control over how questions appear and behave within the survey, enabling a smooth and structured design experience
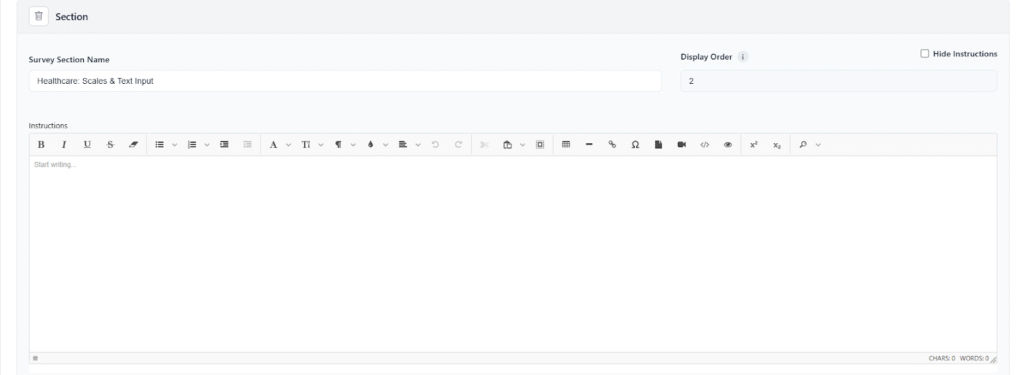
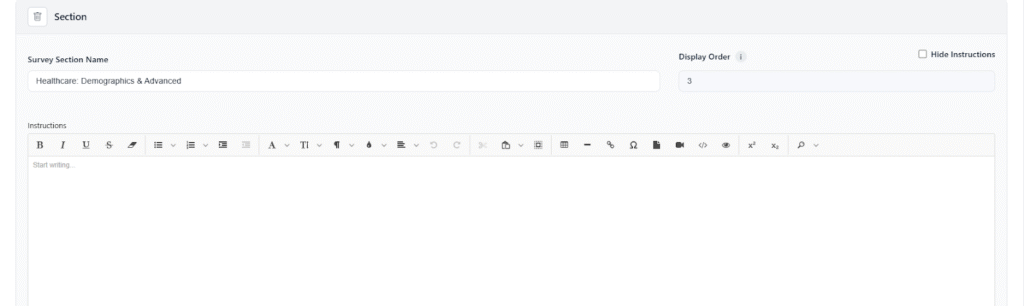
- Enable Sections: Allows users to group questions into logical sections, making long surveys easier to navigate and manage.
- Enable Questions By Section: When enabled, each section will have its own independent question numbering. The numbering restarts from 1 within every section, ensuring clear organization and easy reference for section-wise questions.
- Hide Question Numbers: Lets users hide question numbering for a cleaner survey layout or when numbering is not required.
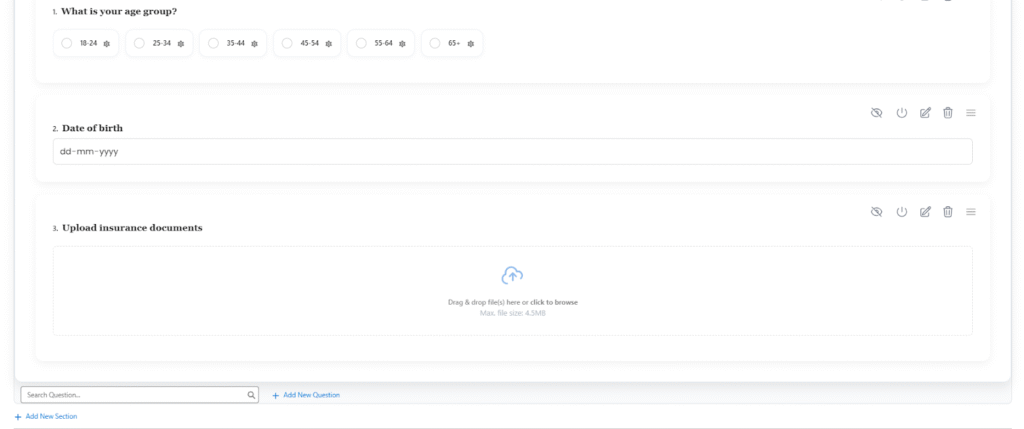
- Search Question: Enables users to quickly find an existing question to reuse or edit within the survey.
- Add New Question: Allows users to create a new question directly from the editor and define its type, options, and behavior.
Steps to Create a New Question
- Navigate to Questions Tab
- From the top navigation bar, go to Survey → Questions.
- Click on “New” to create a new question.
- Select Question Type
- In the Type dropdown, choose the question type (e.g., Date, Text, Rating, Slider, etc.).
- This determines the input format respondents will use.
- Enter Question Text
- In the Question field, type the main question you want to ask.
- You can use text formatting (bold, italic, underline, bullets, etc.) for better readability.
- Set Required Option
- Toggle Required? to Active if respondents must answer this question before proceeding.
- Add Help Text (Optional)
- Use the Help Text field to provide short hints or guidance for respondents (e.g., “Select the date of your last visit.”).
- Add Instructions (Optional)
- Enter more detailed instructions in the Instructions section if needed (e.g., “Use the calendar icon to pick a date.”).

- Enter more detailed instructions in the Instructions section if needed (e.g., “Use the calendar icon to pick a date.”).
- Preview the Question
- Scroll down to the Preview section to see how the question will appear to respondents.
- Save the Question
- Click Save to finalize your new question.
- The question will now be available for adding to any survey.
- Edit Question: Users can update the question text, type, help text, or validation rules after it has been added.
- Activate/Deactivate Question: Controls whether a question is active (visible to respondents) or inactive (temporarily hidden).
- Hide Icon: After adding the question, the user can click the Hide Icon to hide the number of that particular question.
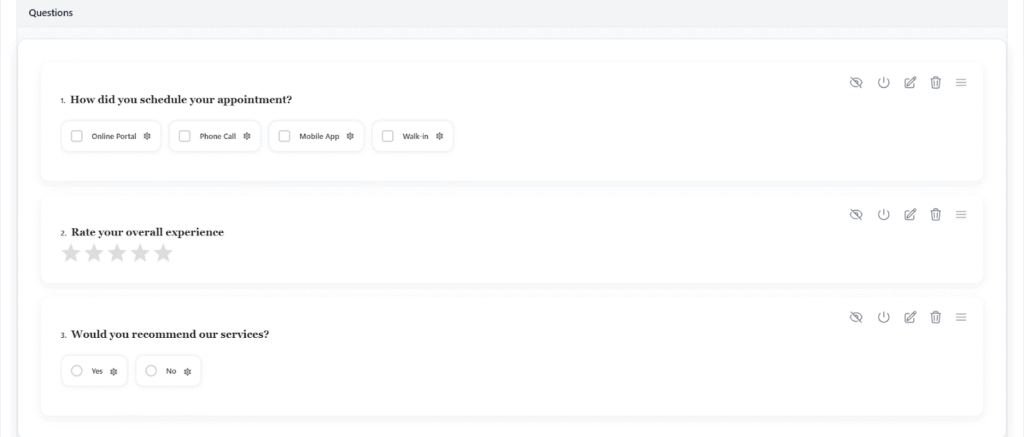
- Delete Question: Allows users to remove any question that is no longer needed from the survey.
- Drag and Drop: Enables users to easily reorder questions or move them between sections to adjust the flow of the survey.

Adding Dependent Questions in the Survey Editor
Manage Dependent Questions in the Survey Editor. Dependent Questions allow additional questions to appear based on the selected answer from specific question types.
Supported Question Types for Dependent Questions
Dependent Questions can be added only to the following question types:
- Multi‑Choice (Multiple selections allowed)
- Single Choice (One selection allowed)
- Yes/No (Boolean type)
How to Add a Dependent Question
Follow the steps below to add a Dependent Question to your survey:
Step 1: Add or Select a Question
- Open the Survey Editor.
- Add a new question or click on an existing question.
- The question must be Multi‑Choice, Single Choice, or Yes/No.
Step 2: Open the Options Gear Icon
- For the selected question, go to the choices section (A, B, C, etc.).
- Next to each option, click the Gear Icon (⚙️).
- This will open the Choice Dependent Question pop‑up window.
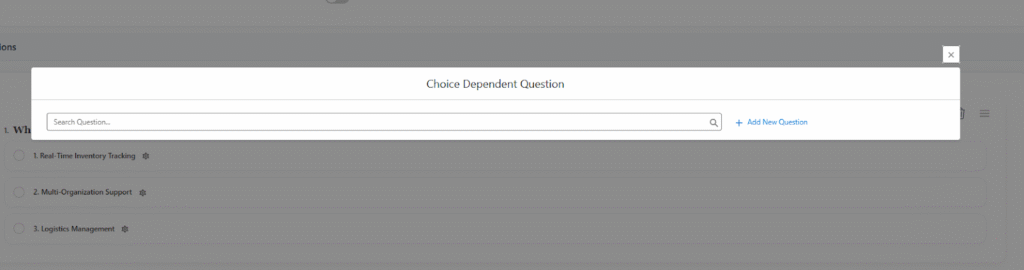
Step 3: Use the Choice Dependent Question Pop‑up
In the pop‑up, you will see two main actions:
- Search Existing Questions
- Use the search bar to search for an existing question.
- Select it to map it as a dependent question.
- Add a New Question
- Click + Add New Question.
- A new question creation form will appear.
- Create the question normally.
- Once saved, it will automatically be added as a dependent question.
Step 4: View the Dependent Questions
- After adding the dependent question, close the pop‑up.
- Scroll below the question options.
- A new section titled Dependent Questions will appear.
- All dependent questions for the selected choice will be listed here.
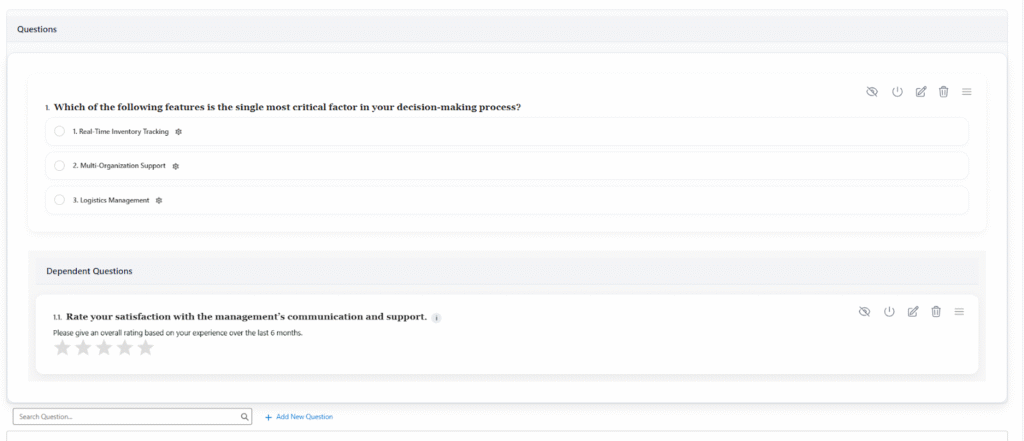
Important Notes
- Dependent Questions display only when the user selects the parent choice.
- You can add multiple dependent questions to a single choice.
- You can add dependent questions to each option individually.
Example Flow
- Add a “Single Choice” question with options A, B, C.
- Click the gear icon next to option B.
- Add a new dependent question: “Is the customer enrolled in the loyalty program?”
- After creation, the dependent question appears under Dependent Questions.
- When the end-user chooses option B, the dependent question becomes visible.
Limitations
Users can add any number of dependent questions — there is no system‑defined limit.
Dependent questions can only be added to:
- Multi‑Choice questions
- Single Choice questions
- Yes/No questions
Dependent questions cannot be added to text fields, date fields, or other unsupported input types. Each dependent question is displayed only when its parent option is selected.
If you delete the main (parent) question, all dependent questions linked to it will also be deleted automatically.
Users can add dependent questions only one level deep:
- Example: Under Option A, you can add dependent questions 1, 2, 3, 4, 5, …
- But you cannot add another dependent question under 1, 2, 3, 4, 5 (i.e., dependent questions cannot have their own sub‑dependent questions).
- This prevents multi‑level or cascading dependencies and keeps the structure simple.
You can add multiple dependent questions under Options A, B, C, D, but none of those dependent questions can have further dependent questions.
![]() SEE ALSO :
SEE ALSO :
____👉 Survey Header & Footer
____👉 Email Template