


 Sales Return Creation
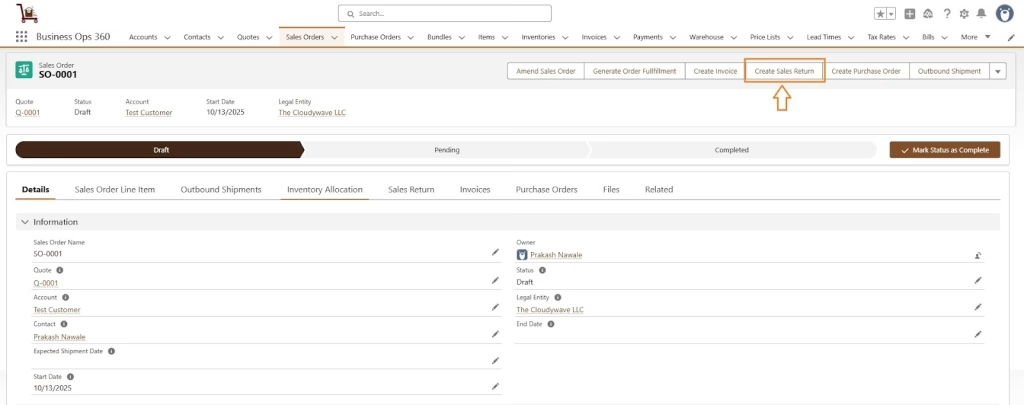
Sales Return can be created from the Sales Orders. Click on the ‘Create Sales Return’ button on the Top middle section of the Sales Order as shown in screenshot.
Now, Review the pre-populated Sales Return Form (items and Inventory Allocation details).
For each returned line, enter Quantity Returned (must not exceed shipped qty). Optionally add Reason for Return and any notes.
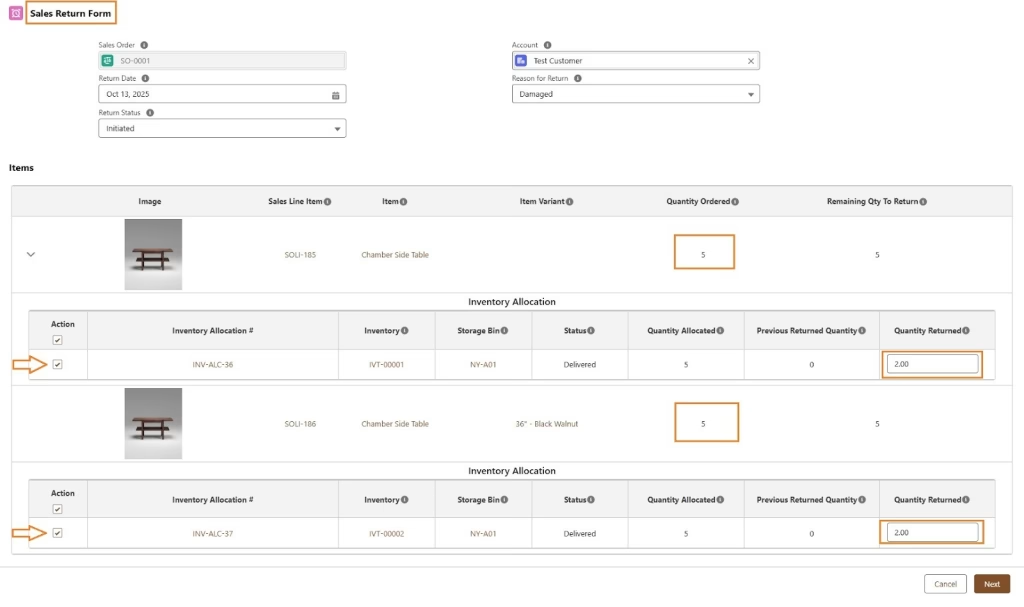
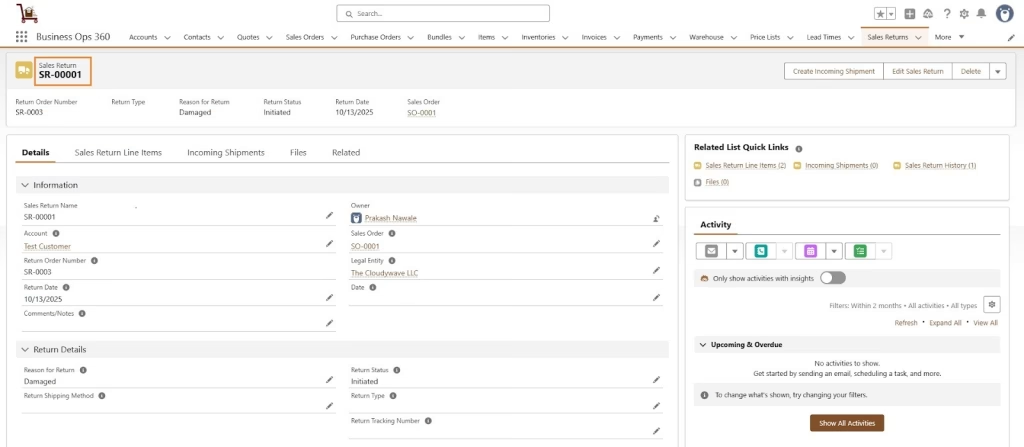
Click Next to review. After reviewing, click Save. Once saved, the Sales Return record is created with the layout shown below.
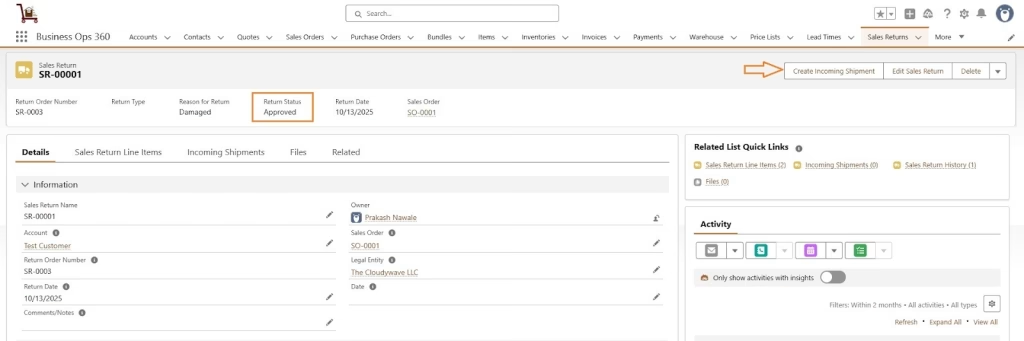
Now, Based on Return policy & If Sales Return status getting approved from approval process.
Click on the ‘Create Incoming Shipment’ button on the Top left section of the Sales Return as shown in screenshot.
When the user clicks on Create Incoming Shipment, the user has to specify the warehouse where the return gets processed.
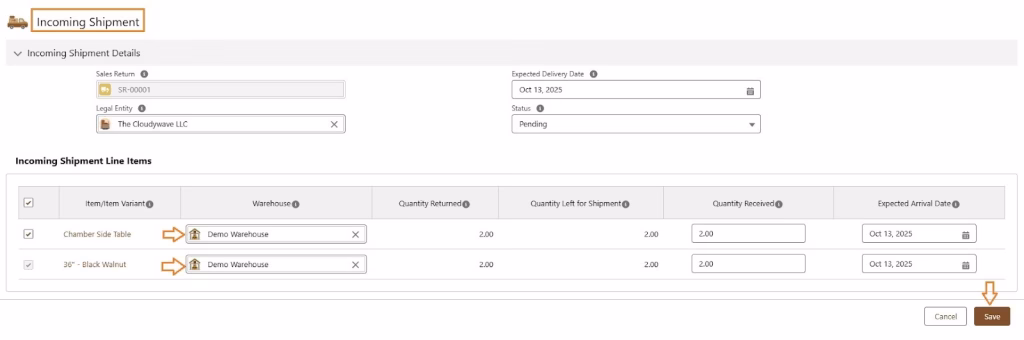
Click Save to Create Incoming Shipment records as,
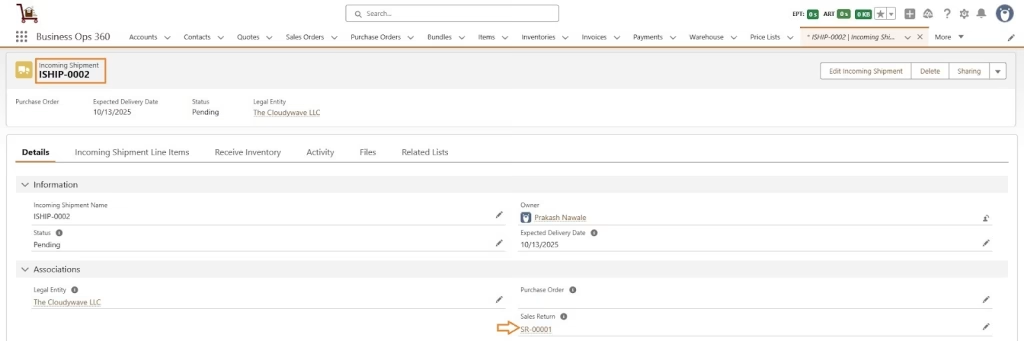
Now, Click Receive Inventory option on Incoming Shipment & Select Allocate to Same Warehouses/Storage Bin checkbox option to Active for returning back to the same warehouse/storage bins as follows ,

Now, Click Save Allocations to Return Items. Also Inventory and Inventory Transaction Detail records are updated automatically.

Note: To enable Sales Return, you must select the Incoming Shipment Req for Sales Return checkbox to Active in the Legal Entity’s General Settings.
![]() SEE ALSO :
SEE ALSO :